1st Attempt: Throwing a Teapot
Having done some research on hand-making ceramic teapots, I decided to make one myself. A ceramics prototype would have two main advantages over my plastic prototype.
The term "throwing" in pottery does not refer to crashing your precious hand-made ceramics by throwing them to the wall, but to "throwing", i.e. shaping, an object from clay on the potter's wheel. When people think about pottery, they usually think about the ceramicist working on the potter's wheel. Indeed, throwing the body of a teapot is still the most common way of hand-making a teapot from clay. I read before that making a teapot is often considered a milestone when learning the art of pottery. However, I tend to completely overestimate myself and encouraged by my successful attempt at making a basic tea cup, I decided to hand-make my first ceramics prototype on the potter's wheel.
First challenge was to find a potter's wheel that I could work on in my hometown Hamburg, Germany. I flicked through the yellow pages and searched the web. There are indeed quite a lot of ceramicists in Hamburg, most of whom offer courses as well. However, many of them had their studios closed over the christmas period. I was about to give up, when I discovered this in my parents' kitchen cabinet.
- It gives a better idea of the handling and feel of my teapot.
- I can test the properties of ceramics as the material for my teapot.
The term "throwing" in pottery does not refer to crashing your precious hand-made ceramics by throwing them to the wall, but to "throwing", i.e. shaping, an object from clay on the potter's wheel. When people think about pottery, they usually think about the ceramicist working on the potter's wheel. Indeed, throwing the body of a teapot is still the most common way of hand-making a teapot from clay. I read before that making a teapot is often considered a milestone when learning the art of pottery. However, I tend to completely overestimate myself and encouraged by my successful attempt at making a basic tea cup, I decided to hand-make my first ceramics prototype on the potter's wheel.
First challenge was to find a potter's wheel that I could work on in my hometown Hamburg, Germany. I flicked through the yellow pages and searched the web. There are indeed quite a lot of ceramicists in Hamburg, most of whom offer courses as well. However, many of them had their studios closed over the christmas period. I was about to give up, when I discovered this in my parents' kitchen cabinet.
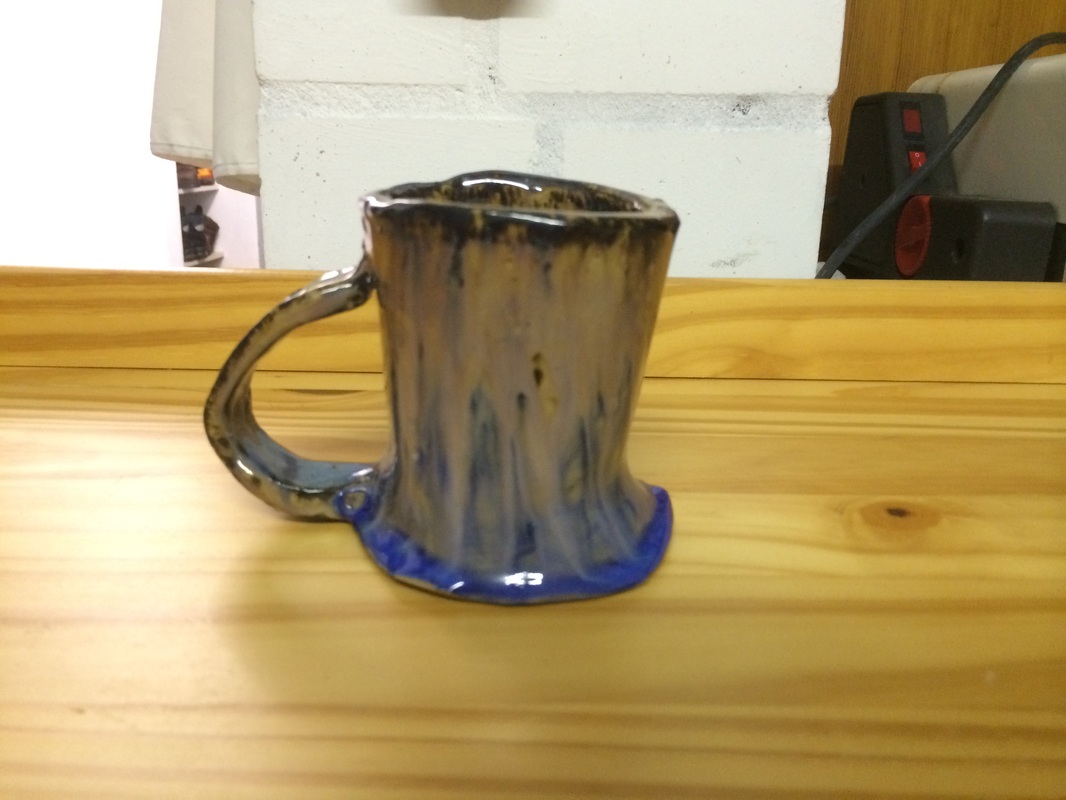
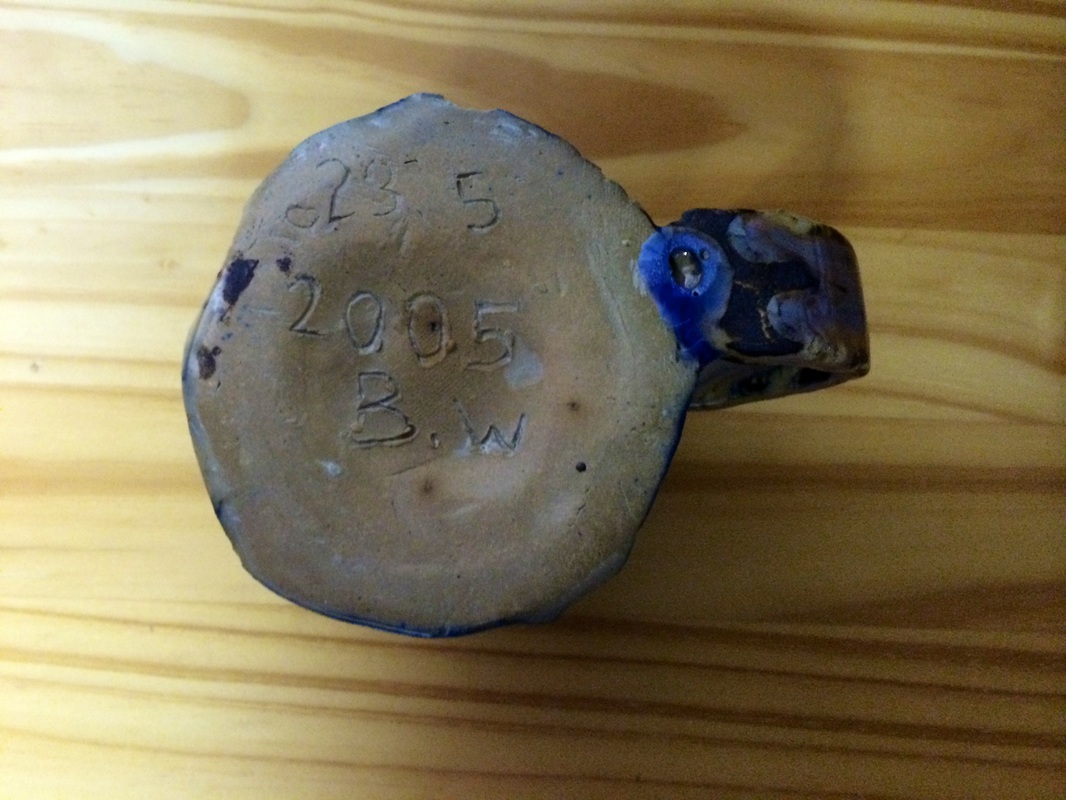
I almost forgot that I had already made an attempt at making tea ware over 8 years ago. A classmate's mother once came into our school's art class and taught us how to make ceramic mugs using a slab-building technique. The mug above is build from essentially from three slabs of clay. A circular one for the bottom, a long one for the handle, and a rolled one for the walls.
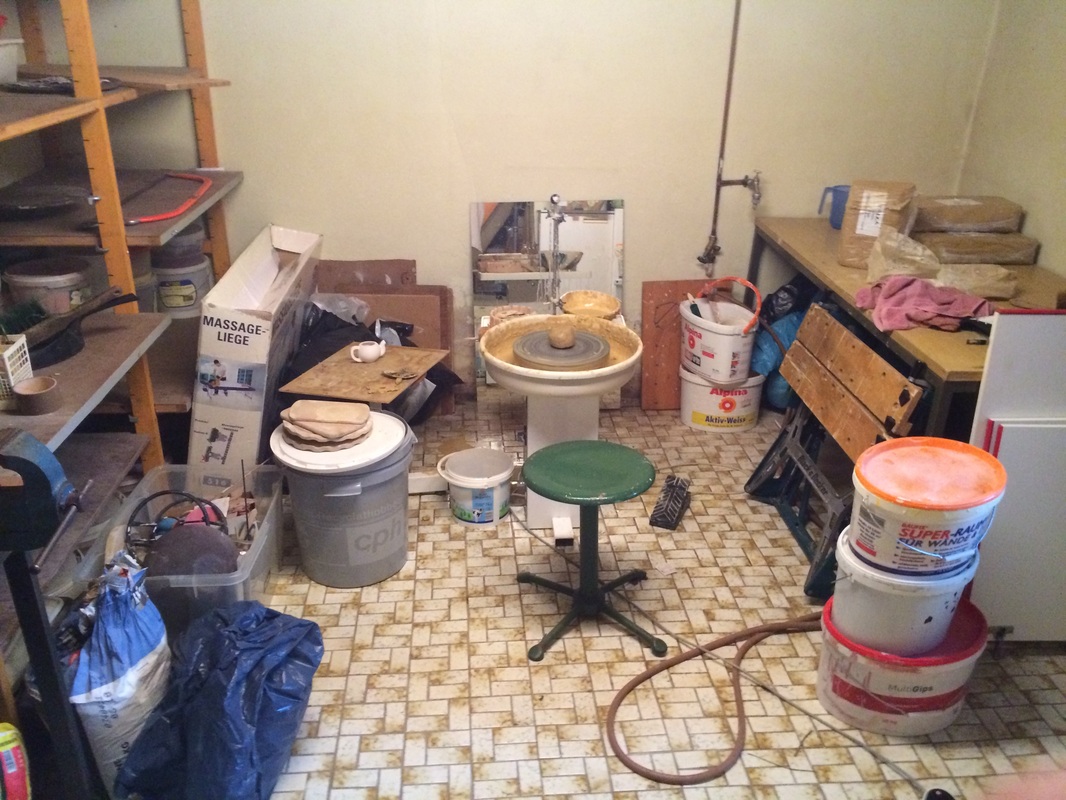
I talked to my friend from school and found out that his mom has her own pottery studio at home. I contacted her and she was extremely helpful and offered me to use her studio. So the next day I drove over to hers and found a fully equipped potter's studio to my availability.
I talked to my friend from school and found out that his mom has her own pottery studio at home. I contacted her and she was extremely helpful and offered me to use her studio. So the next day I drove over to hers and found a fully equipped potter's studio to my availability.
After having been given some instructions on how to use everything, I started with my first attempt at creating a teapot. In preparation I watched many Youtube videos that show how teapots are thrown on the potter's wheel. The example below illustrates how the simple the process looks when done by a professional.
Naively, I thought that I could easily make a teapot using the same technique. However, I ultimately failed during the first step of the process of throwing an object on the potter's wheel: centering the clay. When I used the potter's wheel at the institute of making, I had help preparing and centering the clay on the potter's wheel. Centering the clay correctly - a process that seems trivial at first - is the foundation for making good objects on the potter's wheel.
The process involves to beat a pile of clay into a perfect sphere. And then slam it into the middle of the potter's wheel in order to prevent any air bubbles underneath.
The process involves to beat a pile of clay into a perfect sphere. And then slam it into the middle of the potter's wheel in order to prevent any air bubbles underneath.
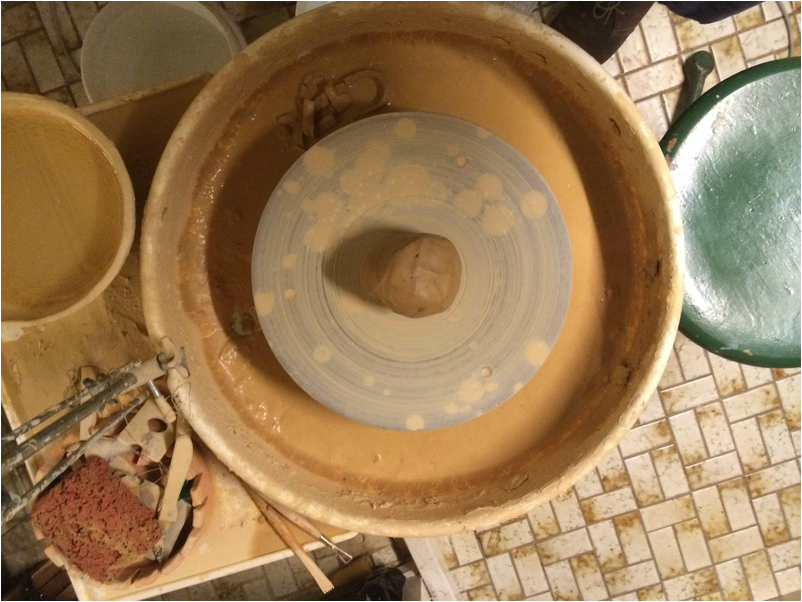
The clay is then "glued" to the wheel with a bit of water and clay sludge. With wet hands, one then has to center the clay as illustrated in the video below.
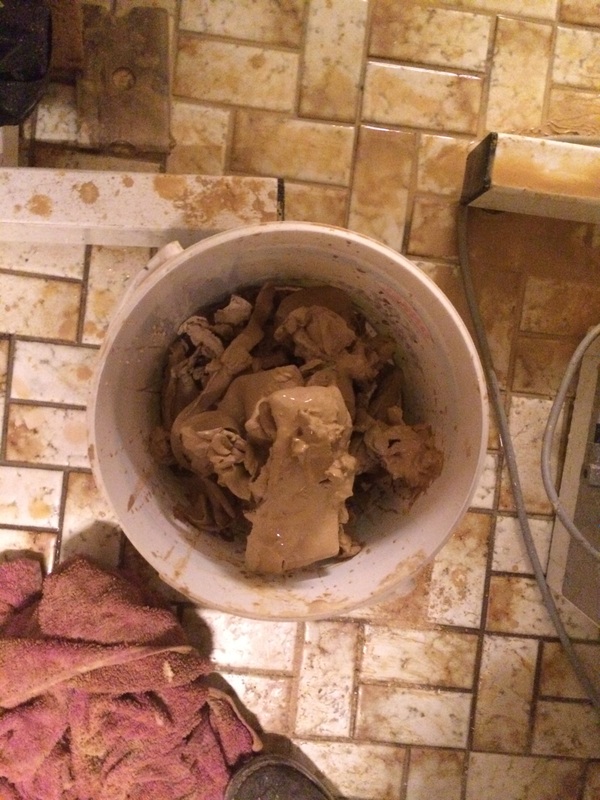
When centered correctly, the spinning clay can then easily be guided and held in place by one hand, while the other hand takes the lead in shaping it. In theory this all sounds extremely simple and straightforward. However, I spend two days working on the potter's wheel and did not manage to perfectly center a piece of clay. I wish I had taken more pictures during these two days, but the process of working on a potter's wheel is very dirty and I was too intensely involved to think about cleaning of my hands, stopping, and taking pictures.
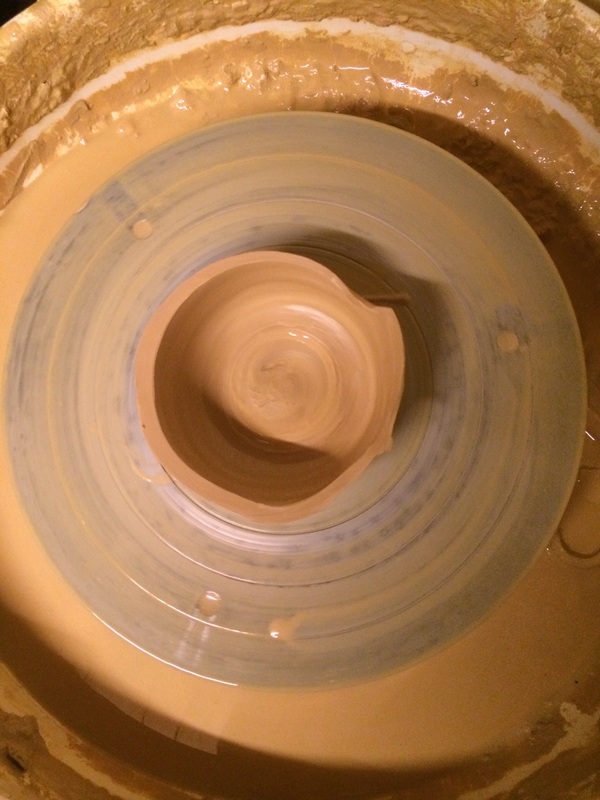
Essentially my process always followed a similar approach. I shaped a flat bowl and then pulled the wall up and over the top in order to create a spheric vessel.
Essentially my process always followed a similar approach. I shaped a flat bowl and then pulled the wall up and over the top in order to create a spheric vessel.
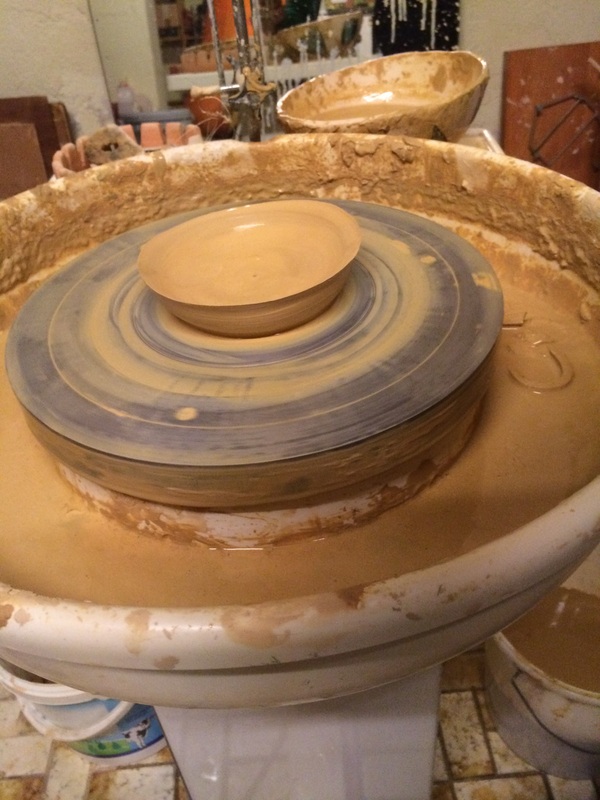
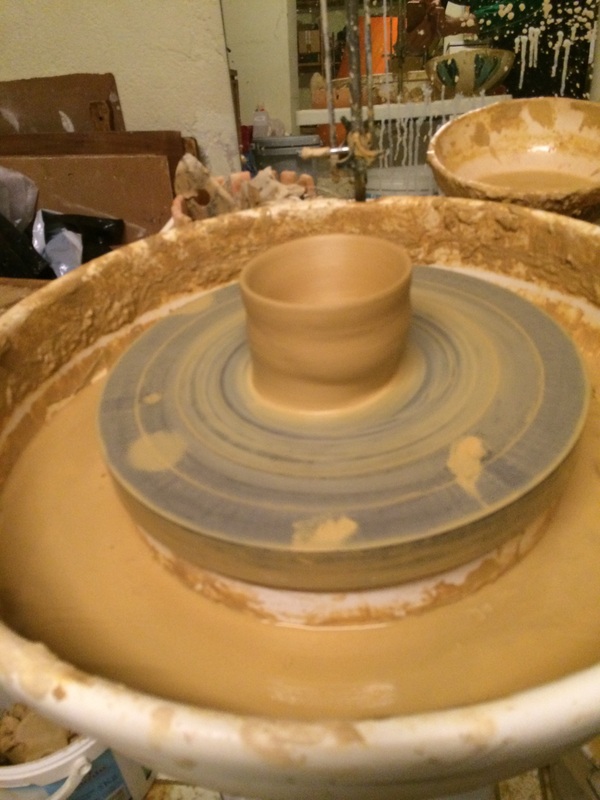
However, as the clay that I was working with was never perfectly centered, I always encountered the same problems. First, the walls were not equally thick and the rim of the opening was not at constant height.
Finally, I decided that I did not need to produce my ceramics teapot on the potter's wheel. Whilst this would for sure be the most elegant solution, I had to remember the two reasons why I was trying to make a ceramics pot at first place:
- To get a better idea of the handling and feel of my teapot
- To test the properties of ceramics as the material for my teapot
