3D Printing
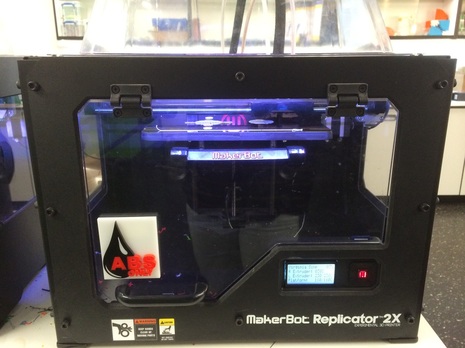
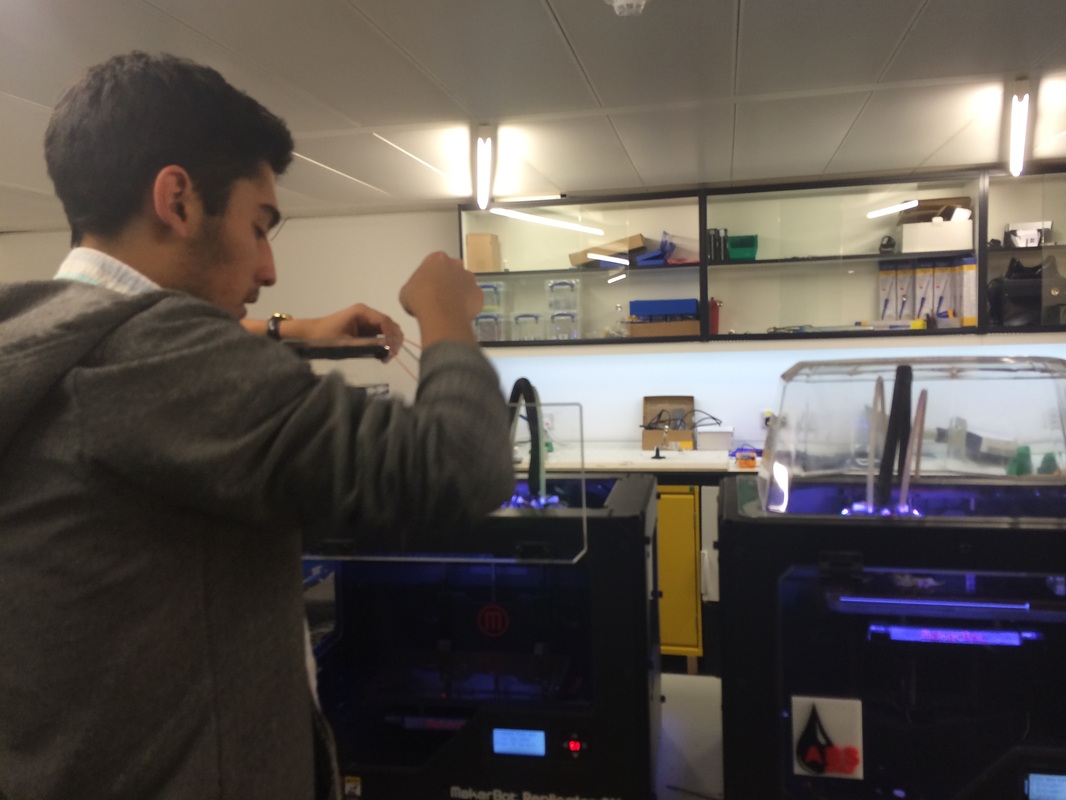
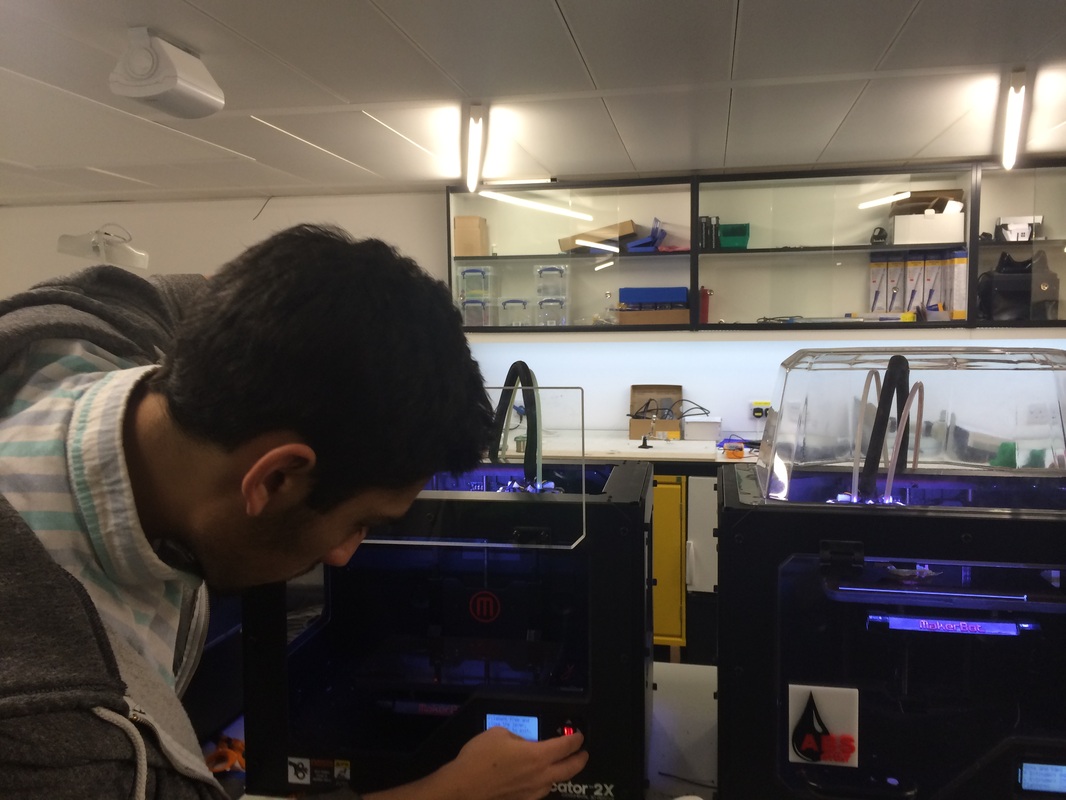
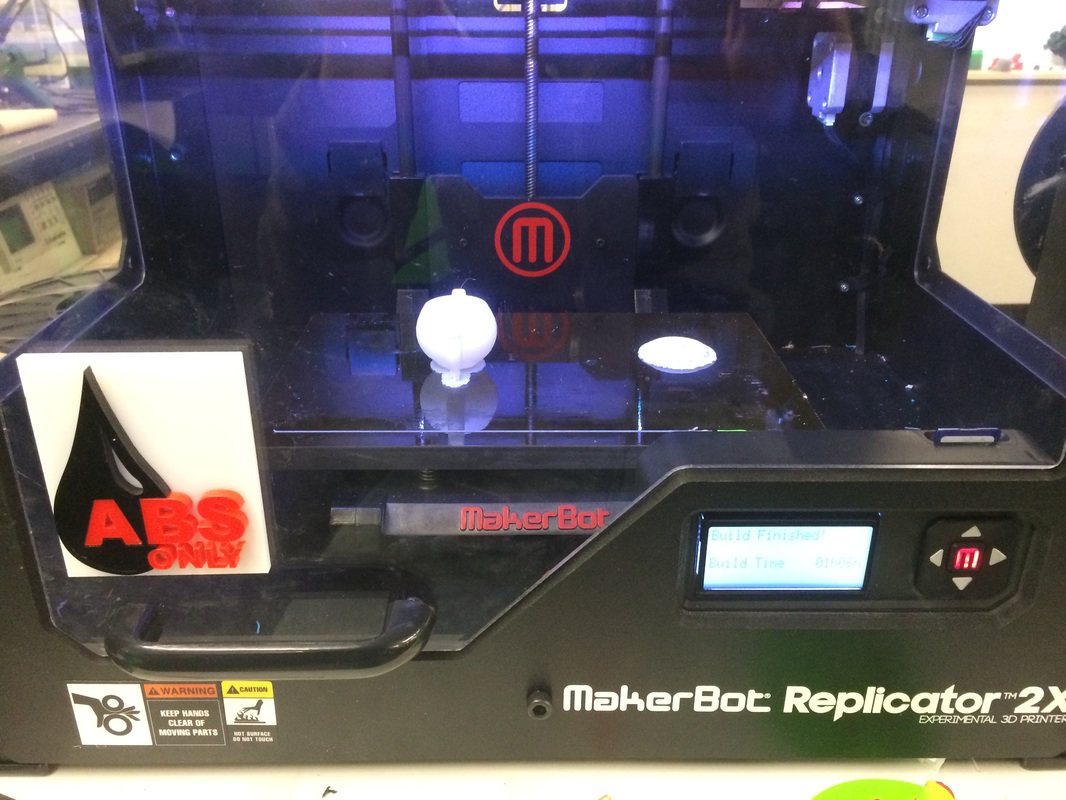
After I created the first detailed design in CAD, I decided to 3D print it in order to get a feel for the haptic of my design. I headed over to the Institute of Making and fired up the MakerBot.
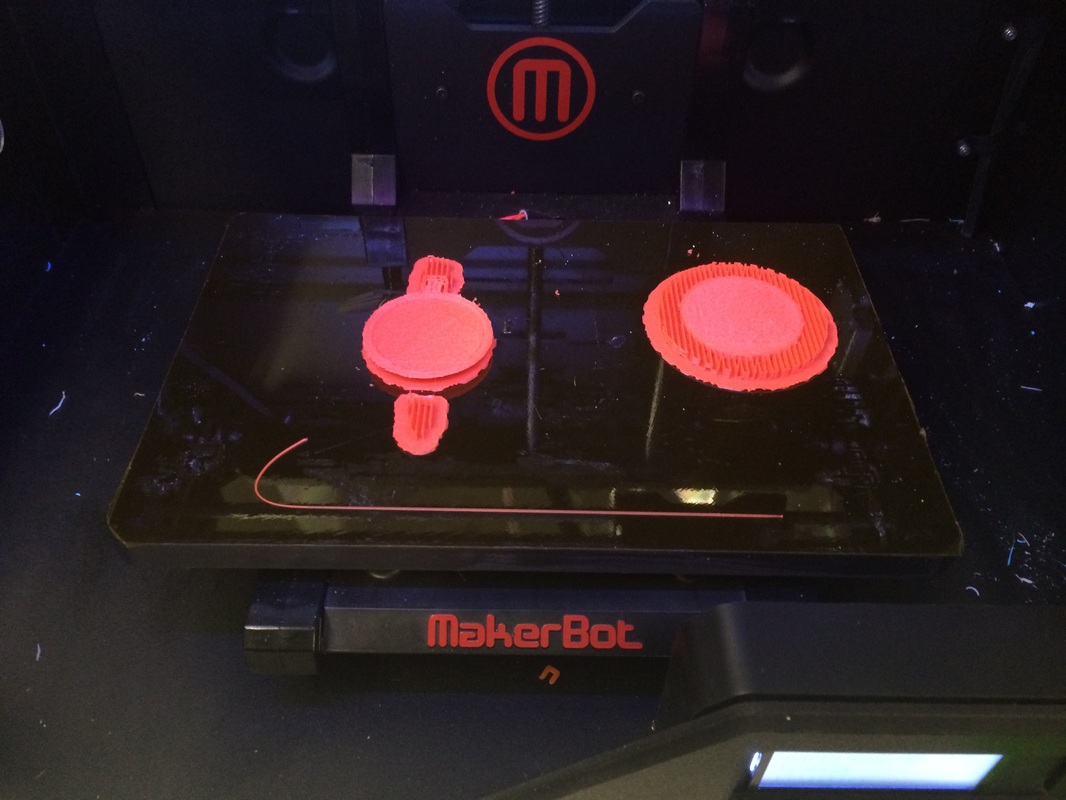
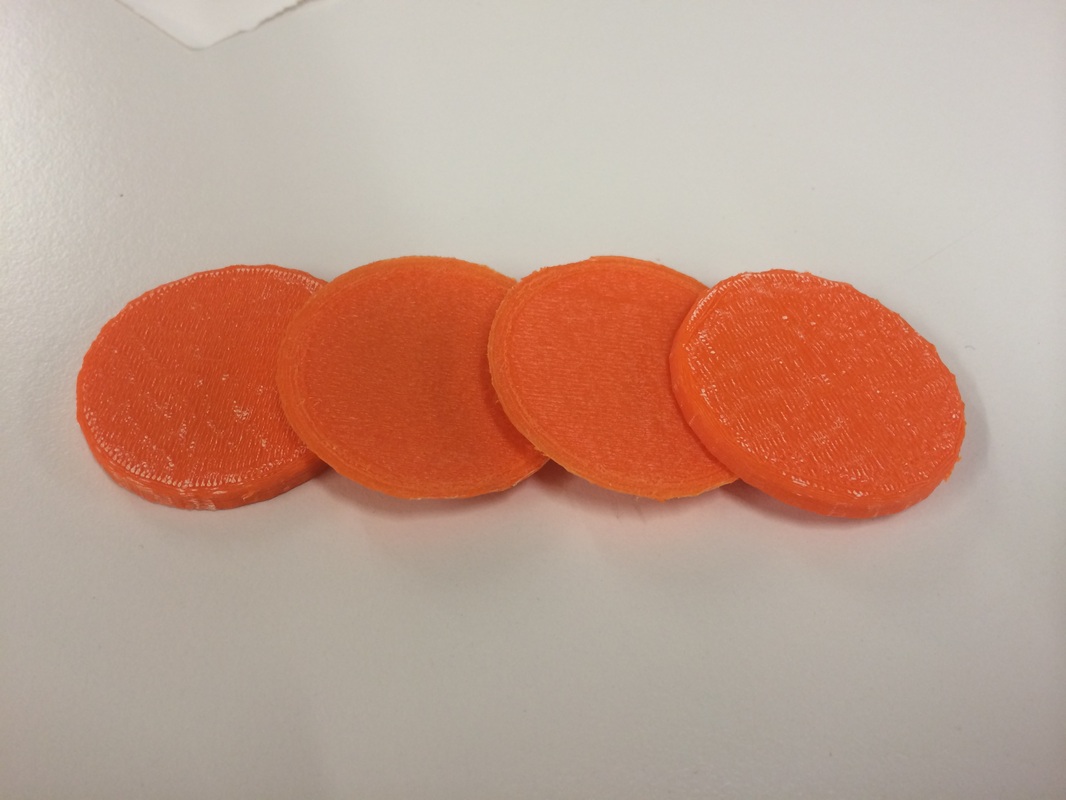
As my teapot is rather small, I initially decided to print a full-scale model right away. However, my first printing attempts all failed. First, I accidently only heated the bulding plate to 110C. This caused the print not to stick to the building plate enough thus slipping out of position and messing the print up. Then, the filaments got stuck multiple times. After five hours in the Institute of Making all I had were multiple bases of failed tea pot prints. A very time consuming way to make poker chips...
|
|
Just out of superstition, I changed the filaments in the MakerBot and decided to print my teapot scaled to 50% to reduce building time and hence the risk of something going wrong.
|
|
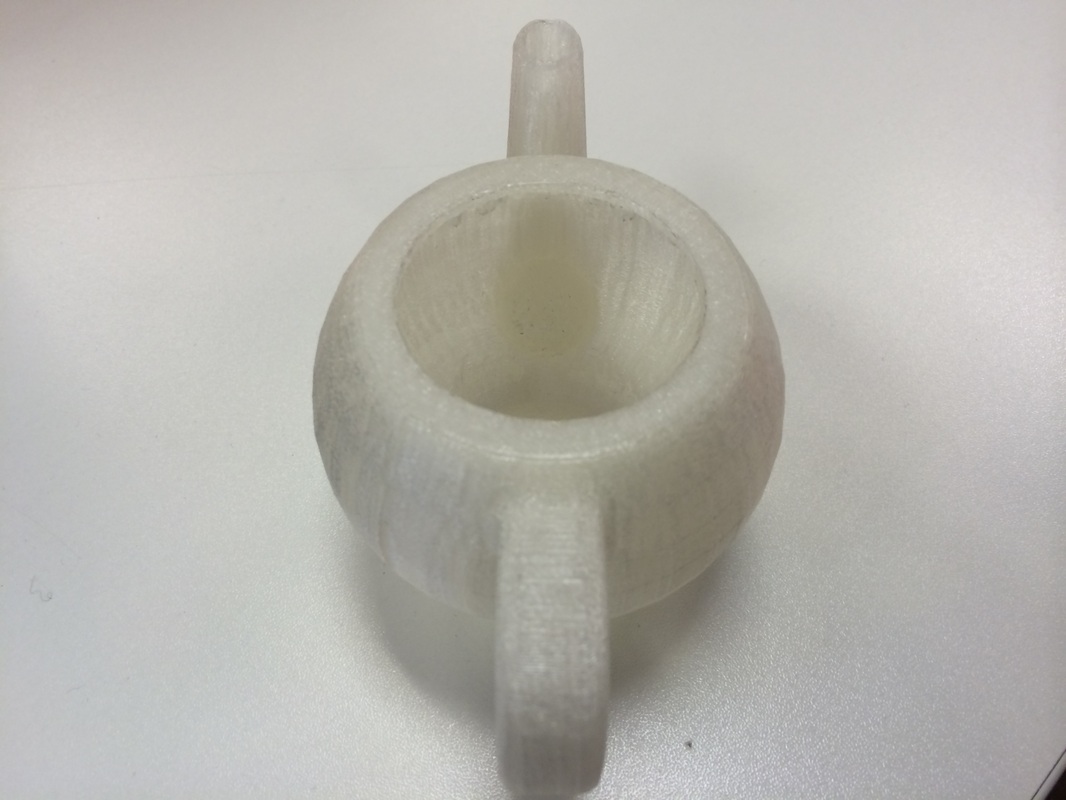
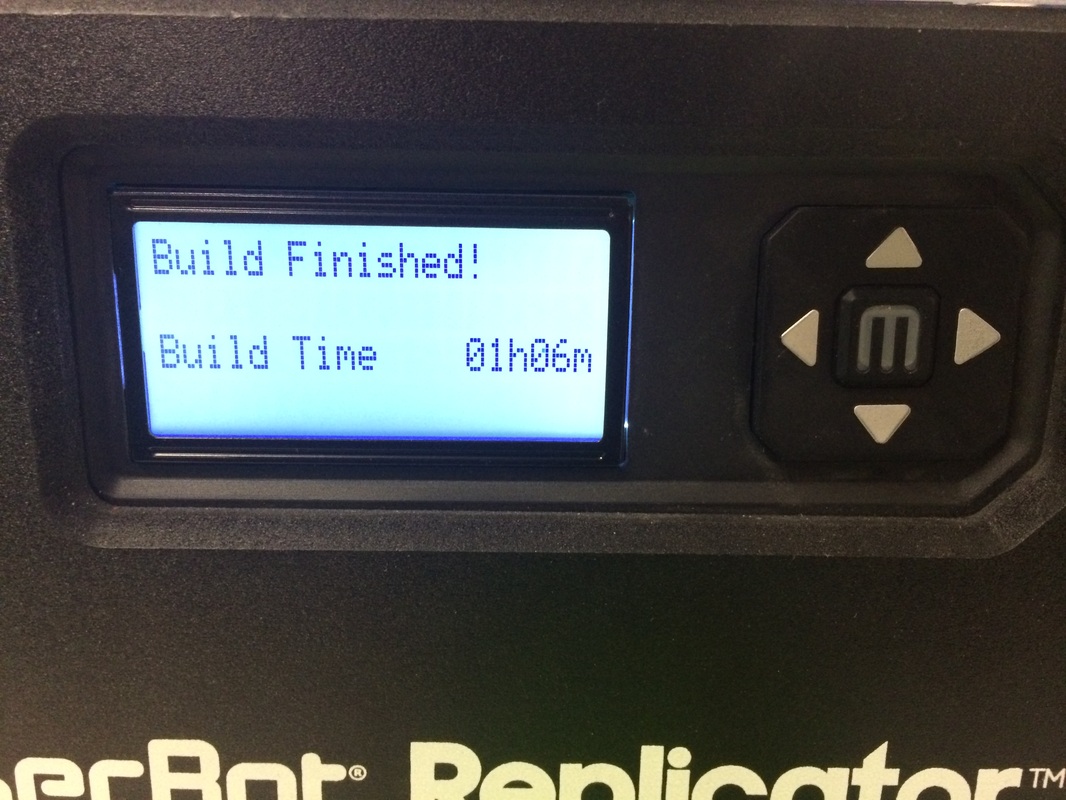
After 1h6min I finally had a first scaled prototype of my teapot.
|
|

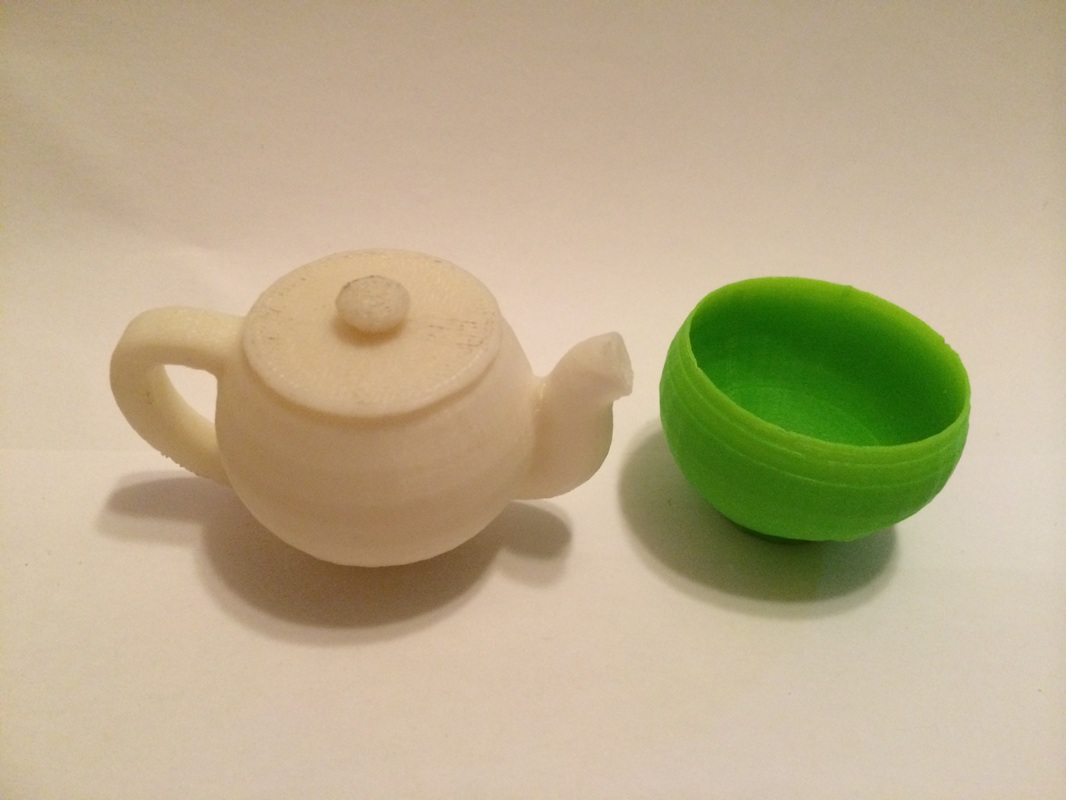
I used a Swiss army knife to cut off the support structure. I then decided to print a matching cup. Voilà my first prototype. It's scaled to 50% and it is not from the final material that I am planning to use, but it is nice to have an actual physical object as a milestone.
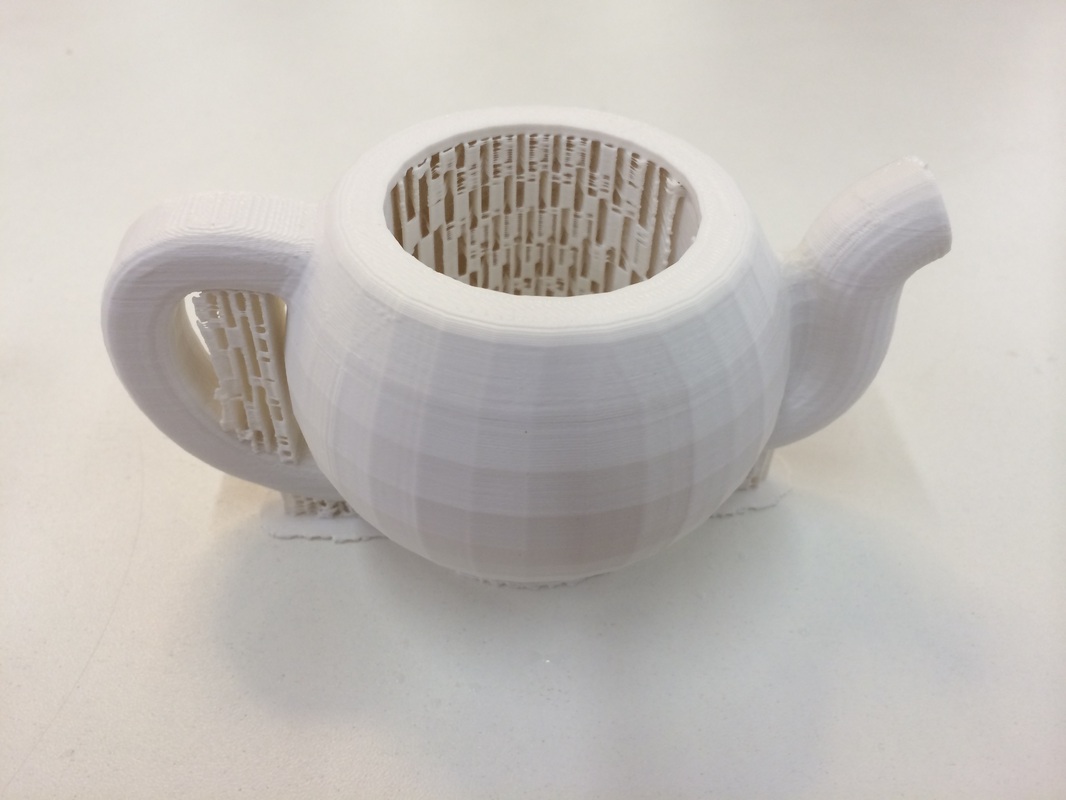
Encouraged by this partial victory, I decided to print a full scale model of my tea pot. The picture below shows my full scale model fresh from the MakerBot with all the support structure still attached to it.
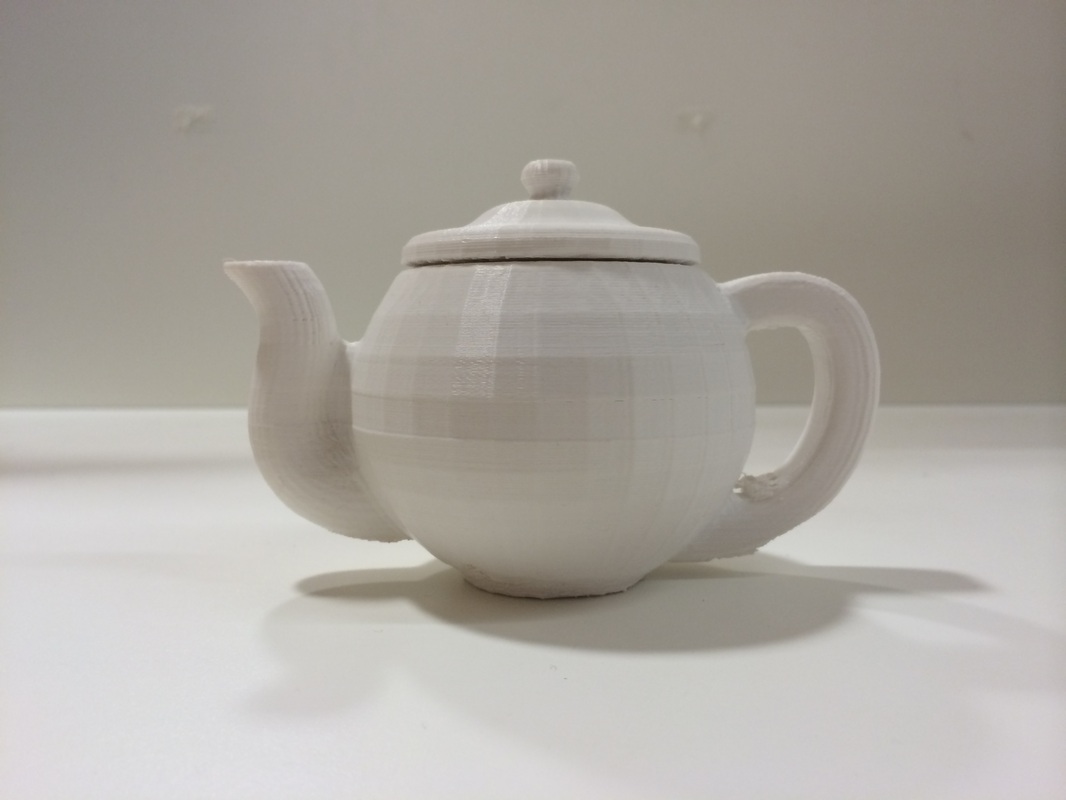
Again, I used a knife to remove the support structure as well as possible.
Printing Version 2.0
I had uptaded my 3d design in CATIA to raise the height of the spout. Also, I changed the shape of the lid in order to give the tea pot a more sophisiticated and elegant look. Again, I went into the Institute of Making in order to make a 3D printed prototype. I printed both, the lid and the pot at full scale. The whole procedure took about five and a half hour.
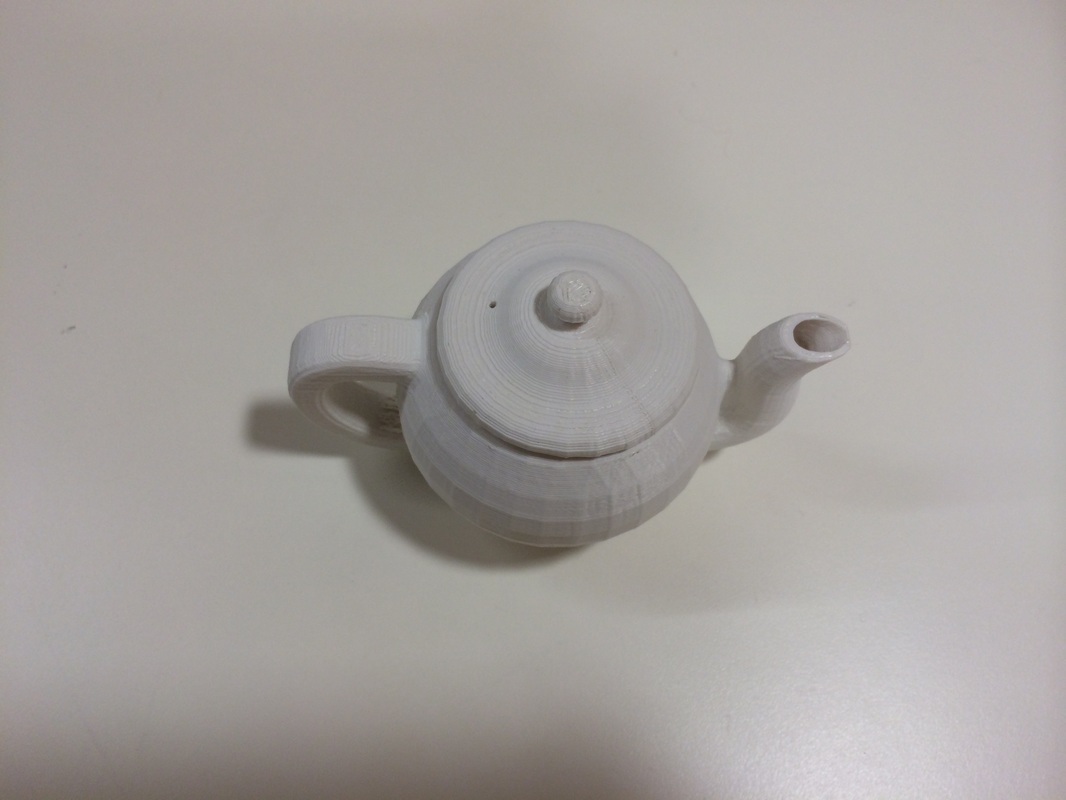
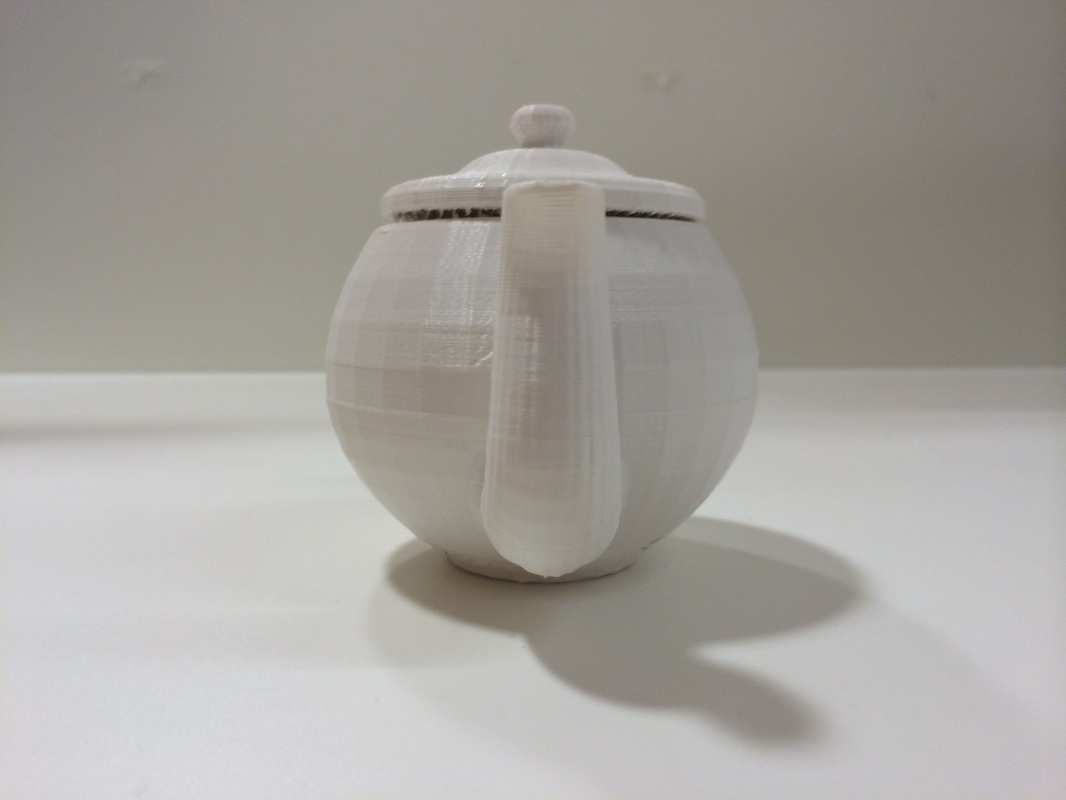
Printing Version 2.1.
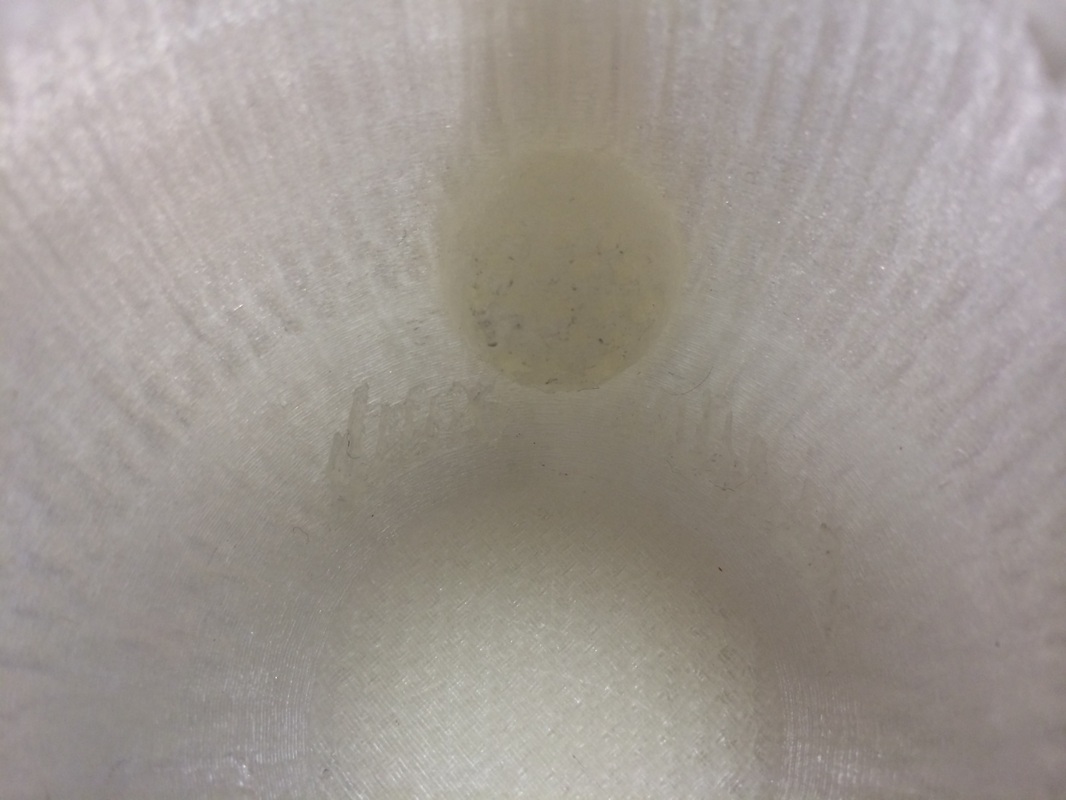
Finally, an updated version of my teapot was printed that included an prototype for the integrated strainer. In order to safe time, this print was done with 50% infill (as opposed to 100% infill for the previous prints) and at a lower resolution. This resulted in a much rougher look of the print. Finally, unfortunately the scaffolding of the 3D print clocked up the holes of the strainer thus rendering this model useless to test the new model for the strainer.