2nd Attempt: Pinching a Teapot
After my ill successes on the potter's wheel, I decided to use a more rudimentary technique to produce a ceramics tea pot prototype from clay: pinching.
My process was broken down into five steps.
My process was broken down into five steps.
- Pinching the body
- Pulling the handle
- Shaping the spout
- Assembling the pot
- Creating the lid
- Firing the pot
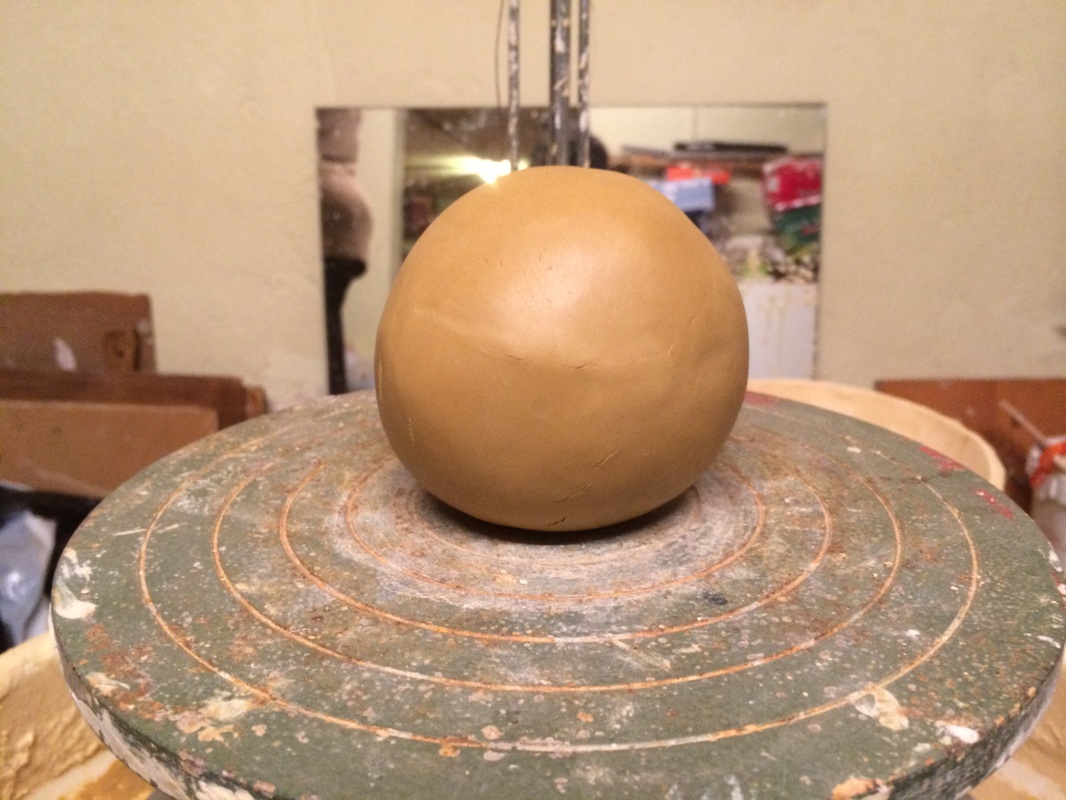
Step 1: The Body
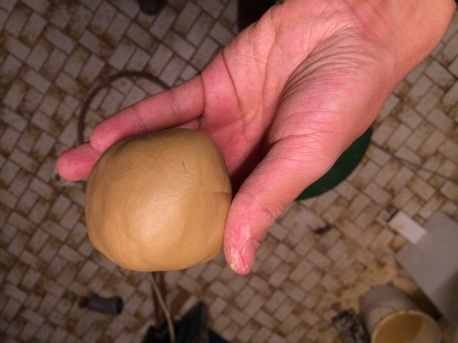
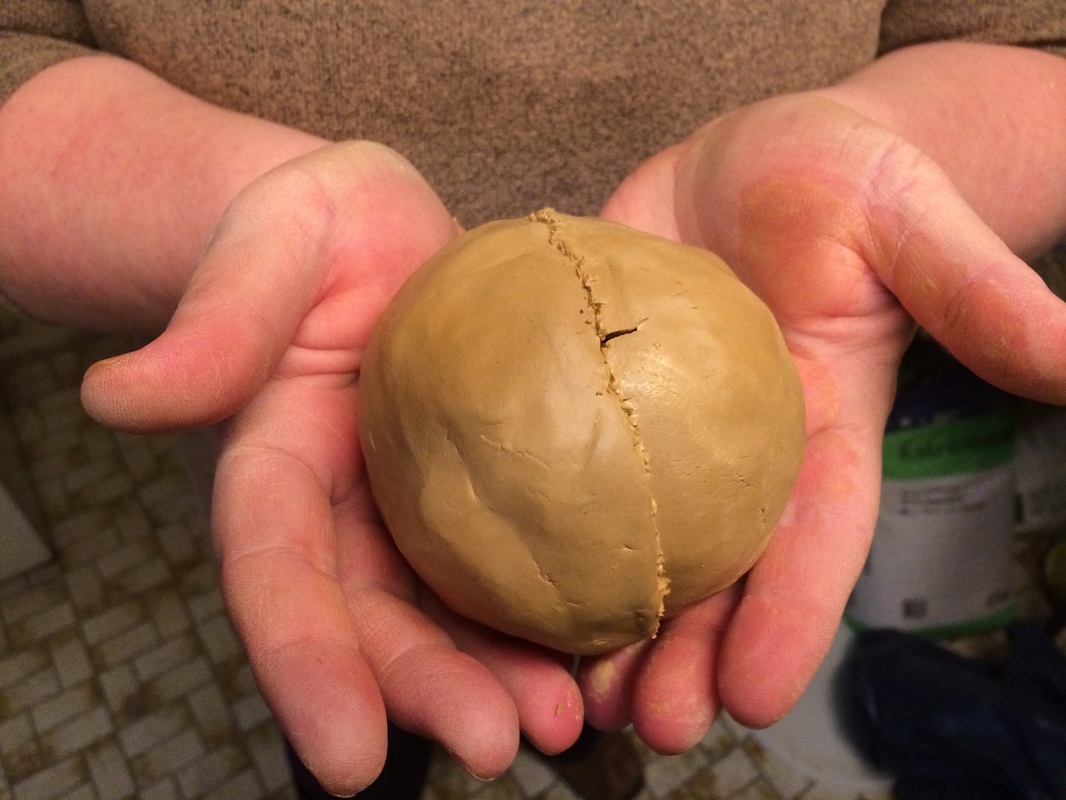
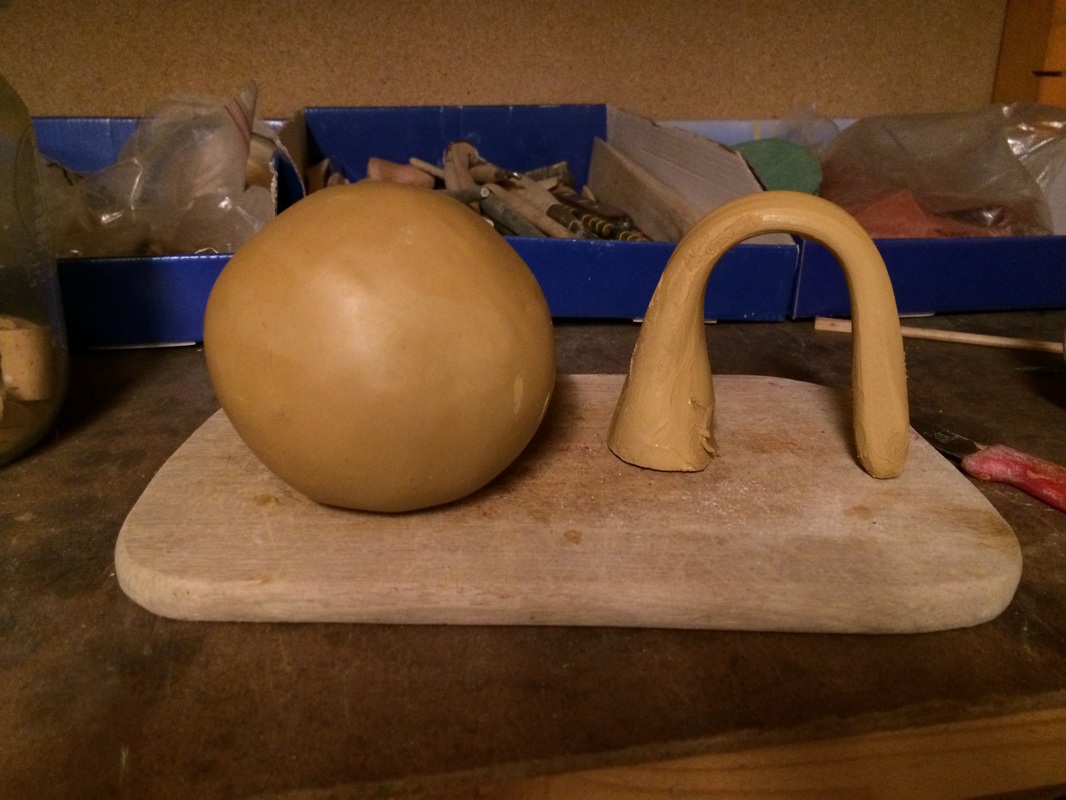
In order to create the body of the teapot, I started by beating a pile of clay into a sphere.
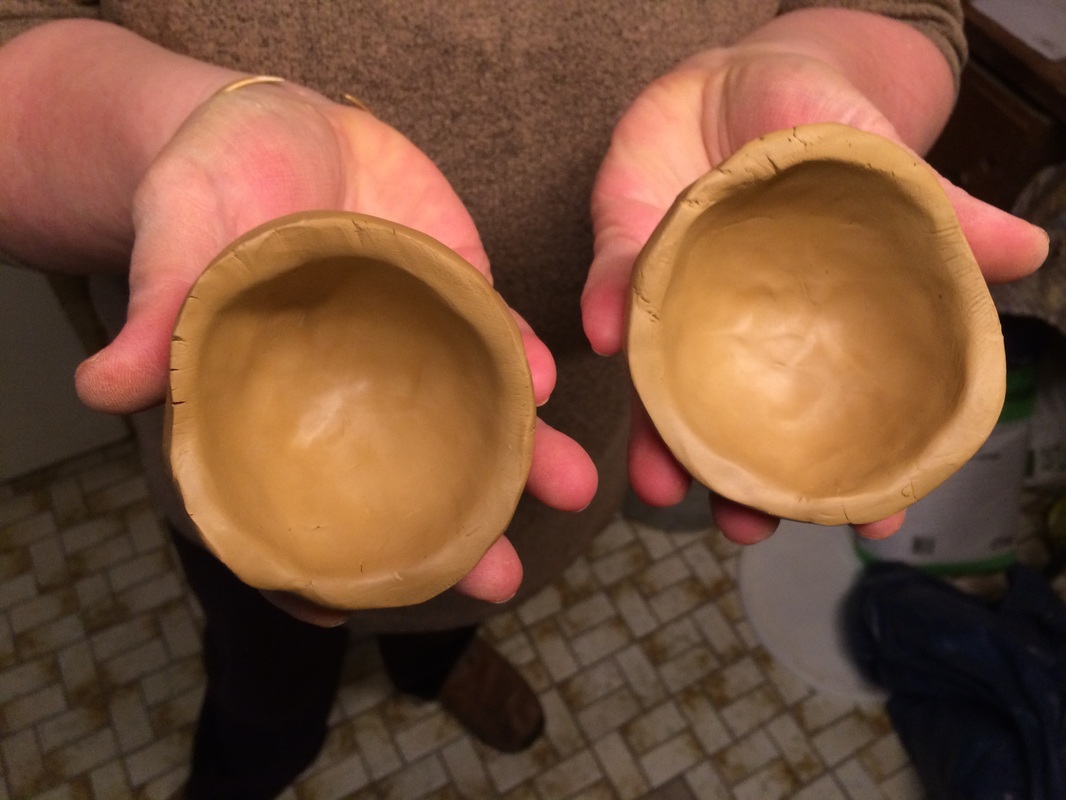
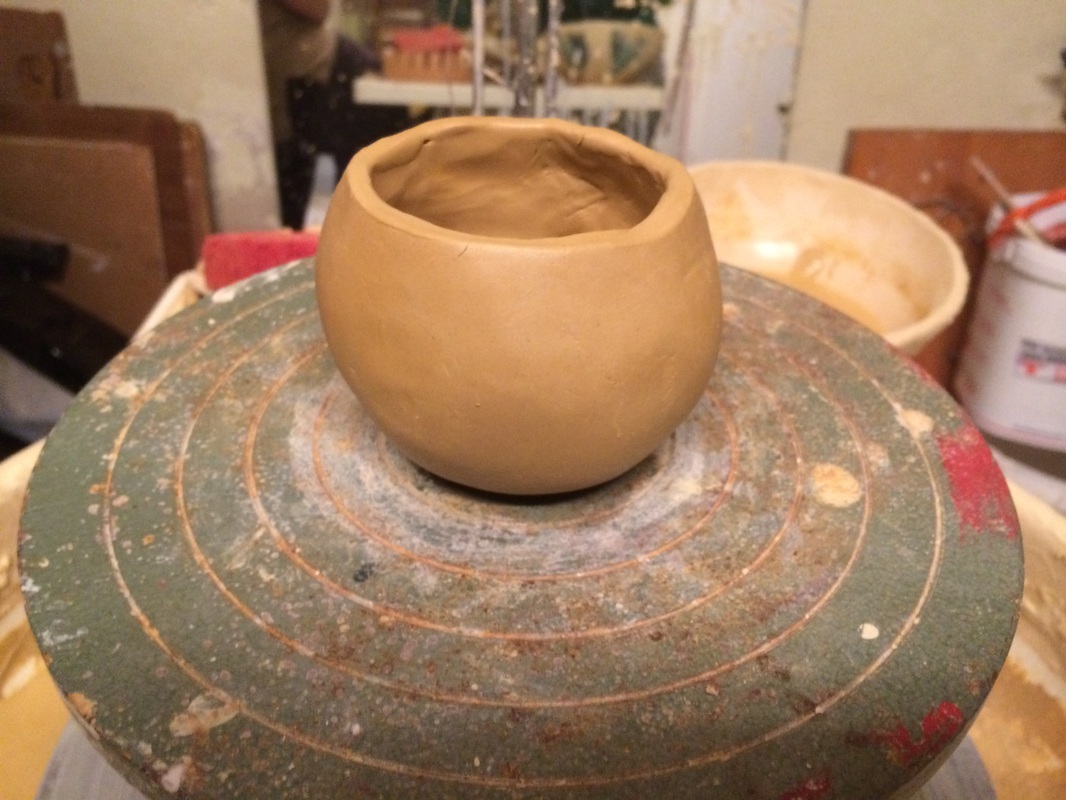
I cut the ball of clay into two halves and used my thumb to pinch to bowls out of them. The clay that I used was quite old and therefore already partially dry. Hence, a lot of cracks appeared on the back of the two sides, which was also exacerbated by the fact that I tend to have very warm hands, which makes the clay even drier. In the beginning I feared that this might be a problem but then I discovered that you can simply "sweep" away those cracks by swiping them with your fingers.


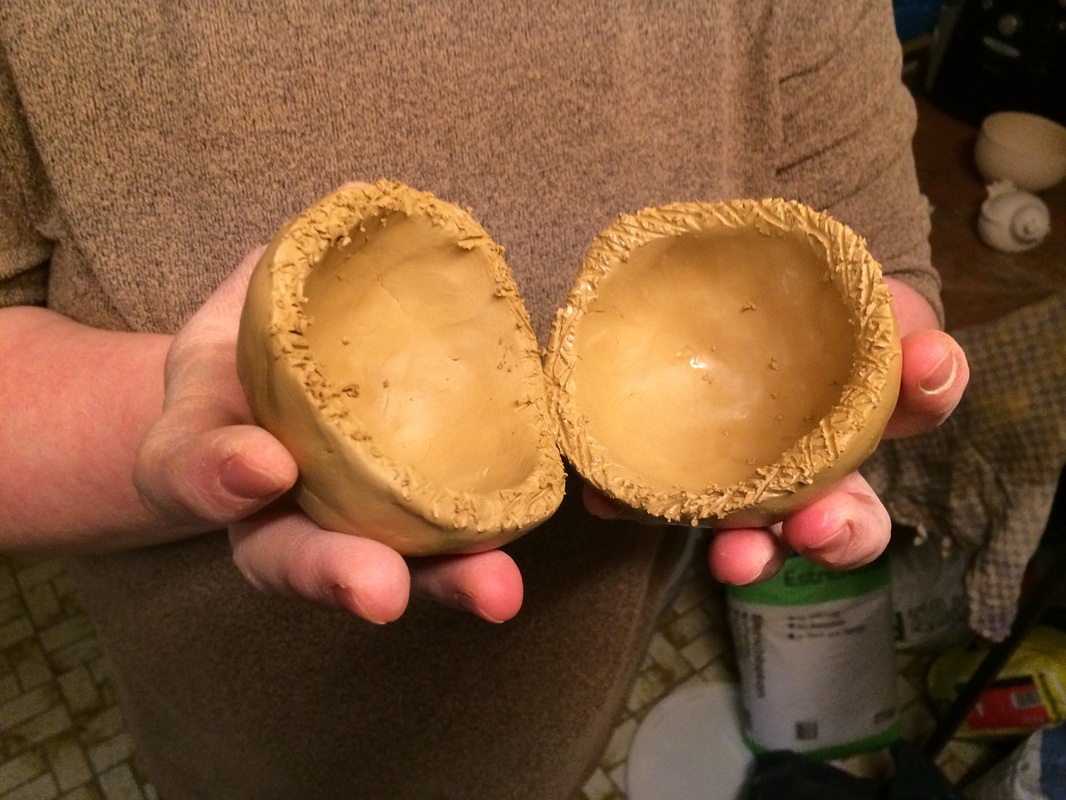
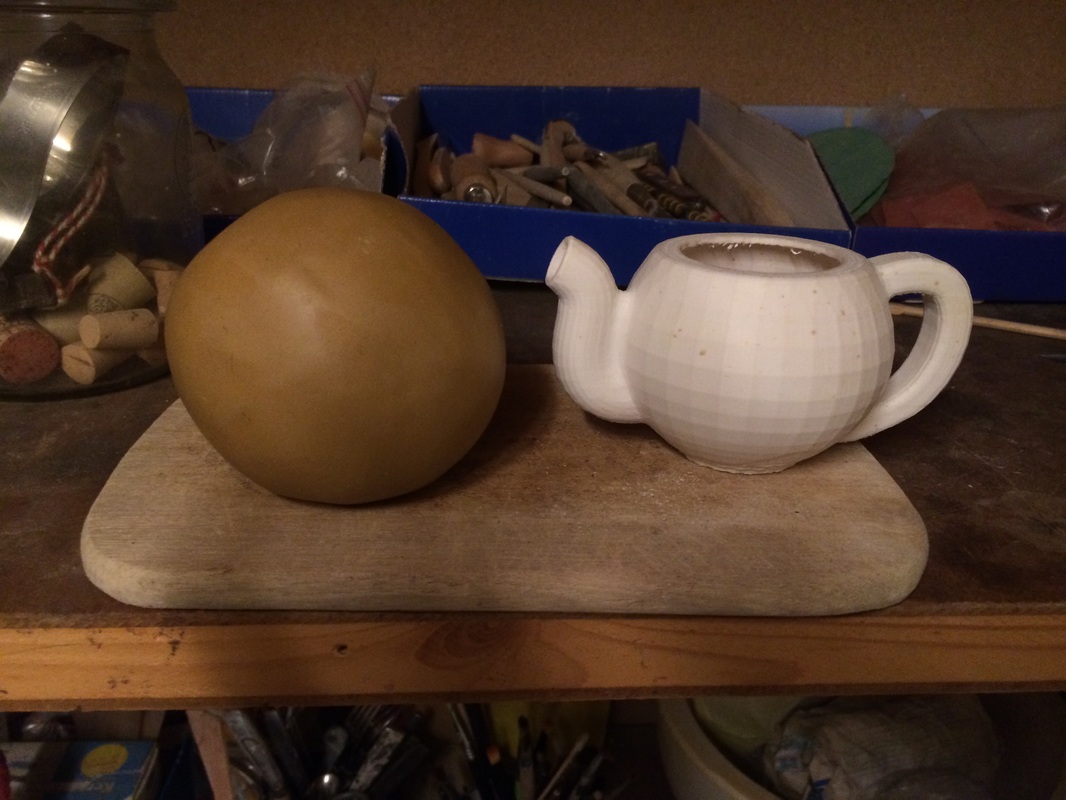
I then used a fork to roughen up the rims of both halts and spread some water on one of the two sides. I could then easily stick these two hals together and use my finger to spread the clay over the seam to seal it. The best way to seal the seam is to alternate between brushing the clay around the seam up and down in order to not thin out one side whilst making the other one thicker. Finally, I used a wooden spatula, the pat the ball round. Finally, my hollow clay ball had roughly the same inner volume as my plastic prototype. However, its walls are about 5-7 times as thick; I could not make it any thinner from the clay that I had at hand, otherwise there would have been cracks and the final teapot might have broken in the kilt.
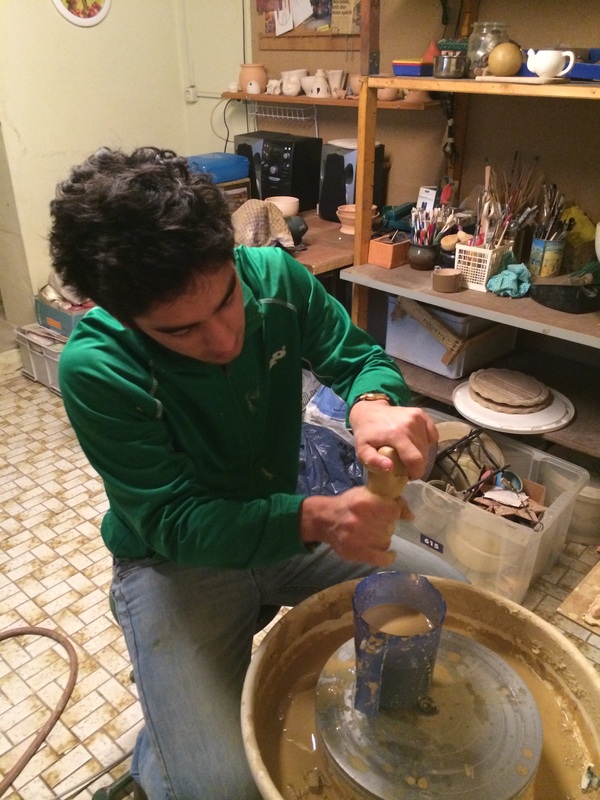
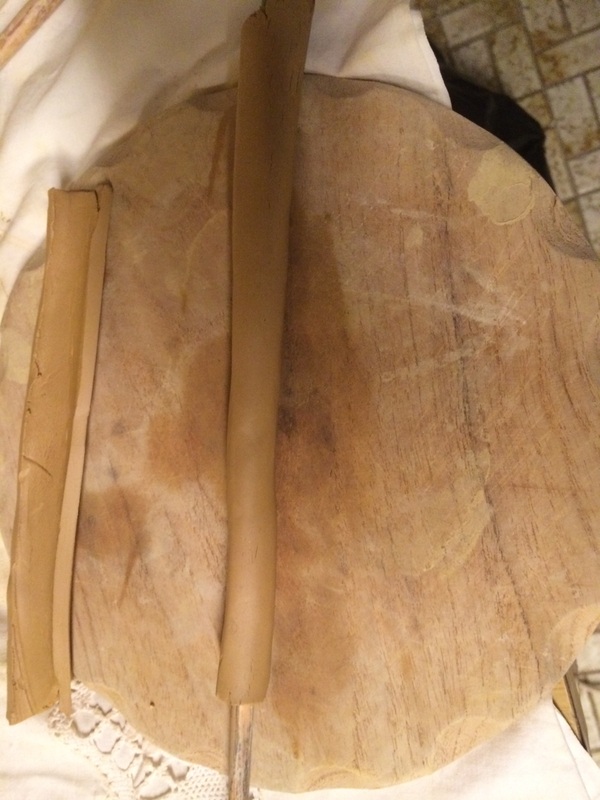
Step 2: Pulling the Handle
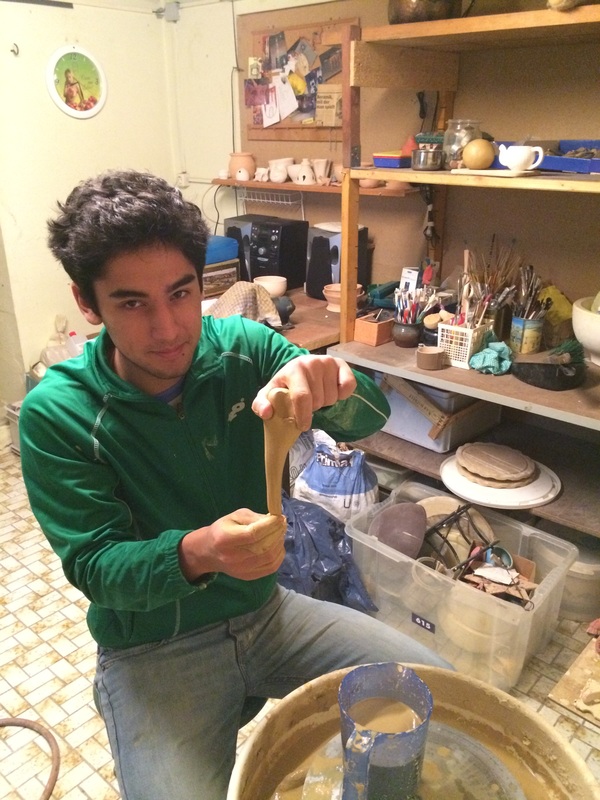
In order to form a handle, i used another pile of clay and patted it into a carrot shape. Grasping the top of the "carrot" in one hand, I wetted my other hand and stroke the clay downward with gentle pressure in a smooth, continuous motion in order to elongate the carrot. I am fully aware that the last sentence sounds as though it could have been taken directly from "Fifty Shades of Grey". In fact, I was told that pulling a handle is often jokingly called the most sensual part of pottery. In the end, one creates a phallus shaped lump of clay from which the handle will later on be cut.
Note to myself: The trick is to apply more pressure at the top when stroking the clay in order to create a smooth and evenly thick handle.
Note to myself: The trick is to apply more pressure at the top when stroking the clay in order to create a smooth and evenly thick handle.
Step 3: Shaping the Spout
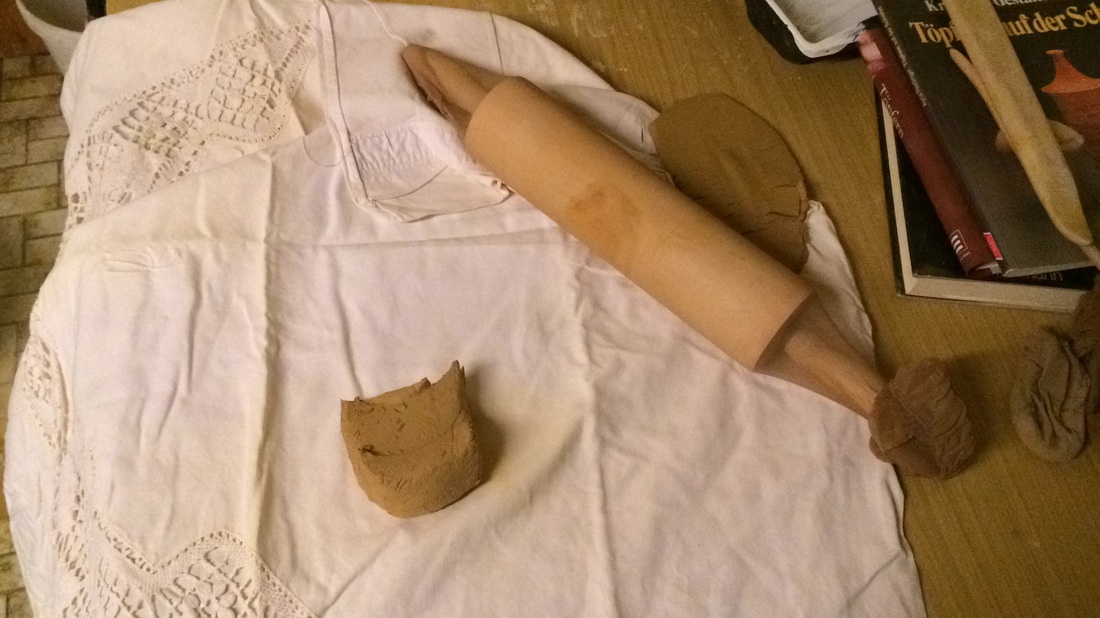
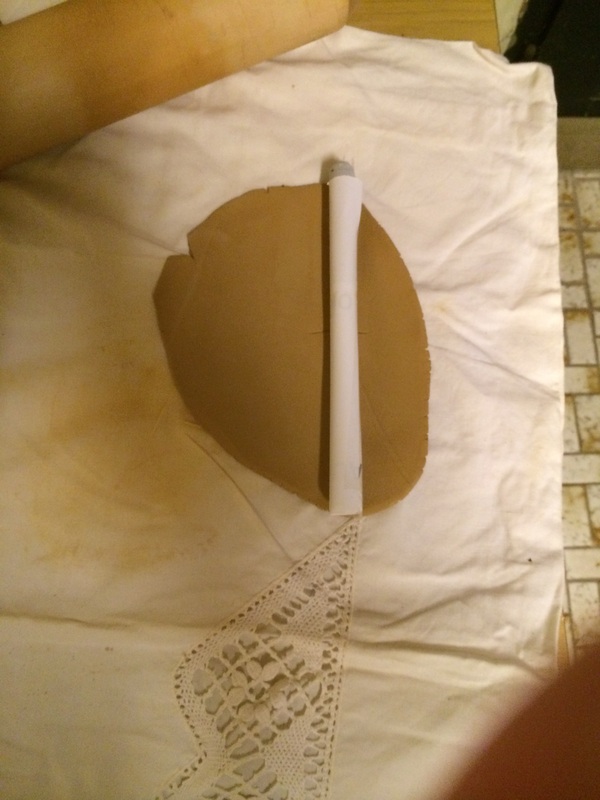
In order to create a spout, I used a dough roll to flatten a lump of clay. I couldn't get the clay any thinner than roughly 7mm, as it was too dry and would have bursted in the kilt if I had made it any thinner. Then I wrapped some paper around a brush, in order to serve as blueprint for the interior of the spout. The clay was then wrapped around the paperstick and the ends were joined together by roughing them up, wetting them, and stroking clay over the seam. I ended up with a ca. 20cm long tube of clay from which I could later on cut the spout.
Step 4: Assembling the Pot
I left my body, handle, and spout dry for a little while. When assembling a teapot it is best, if the clay is leather hard, which makes working with it easier and reduces the risk of deforming it.
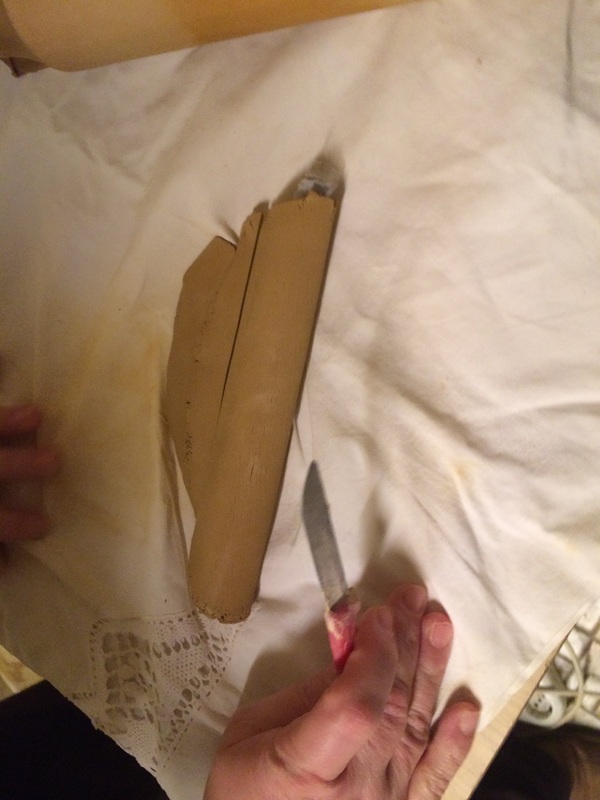
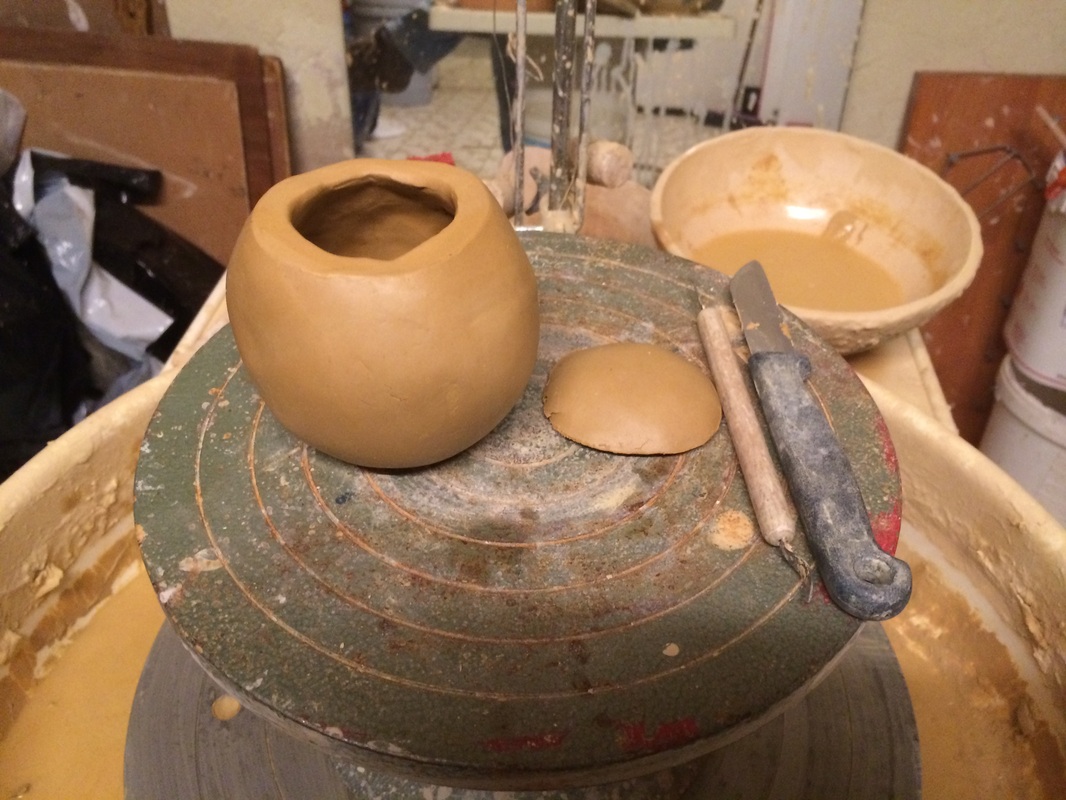
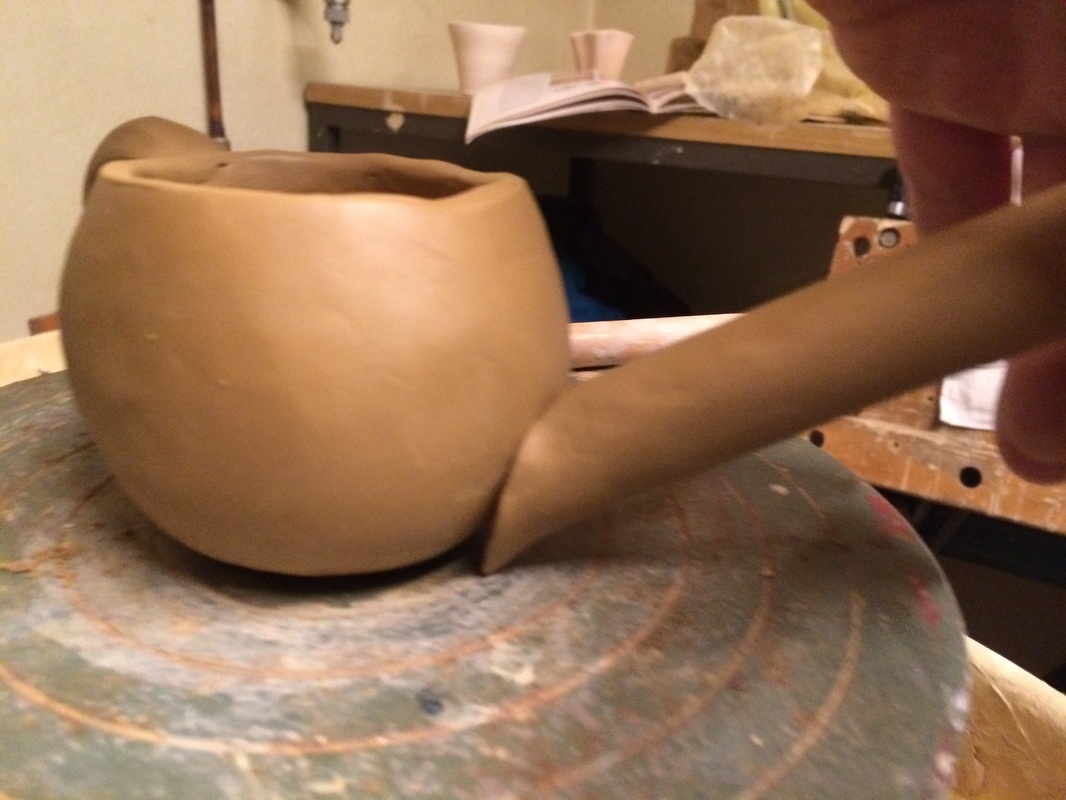
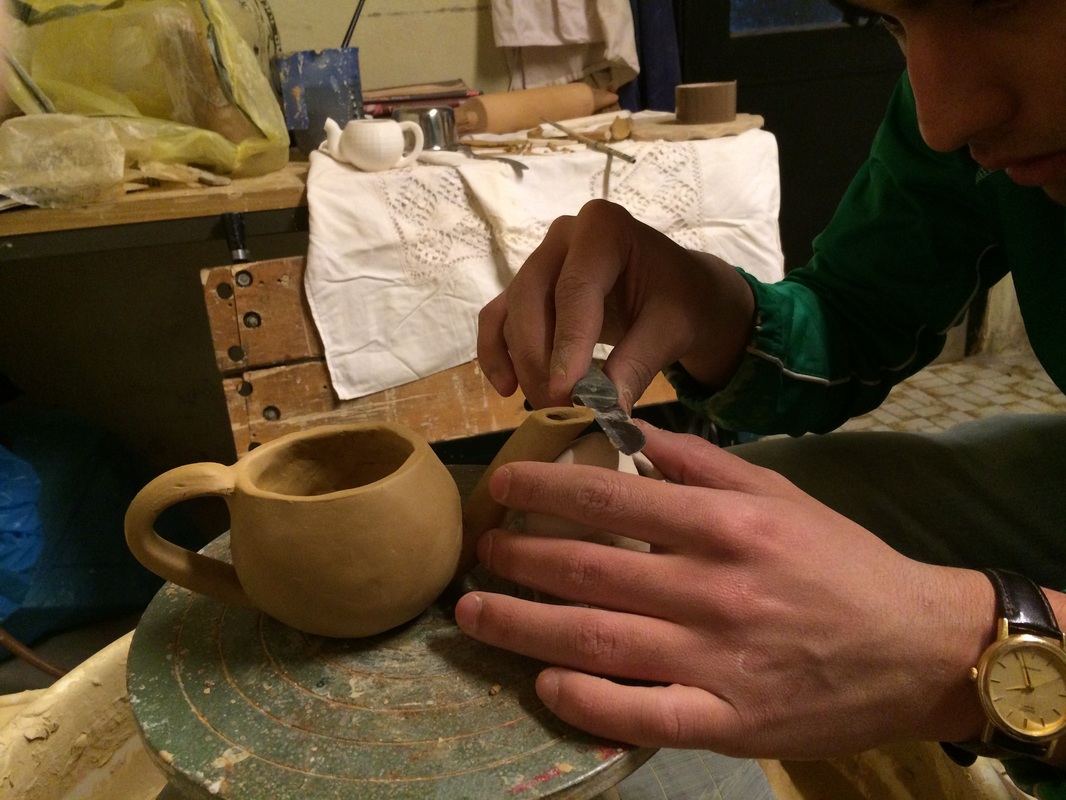
I cut off the top of the top of my clay ball and pinched the rims to create an even edge. When cutting through clay, it is better to slice it in one go and not wiggle the knife around, as this would leave ugly marks on the cut clay.
I cut off the top of the top of my clay ball and pinched the rims to create an even edge. When cutting through clay, it is better to slice it in one go and not wiggle the knife around, as this would leave ugly marks on the cut clay.
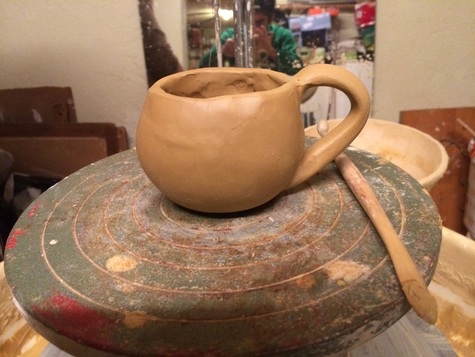
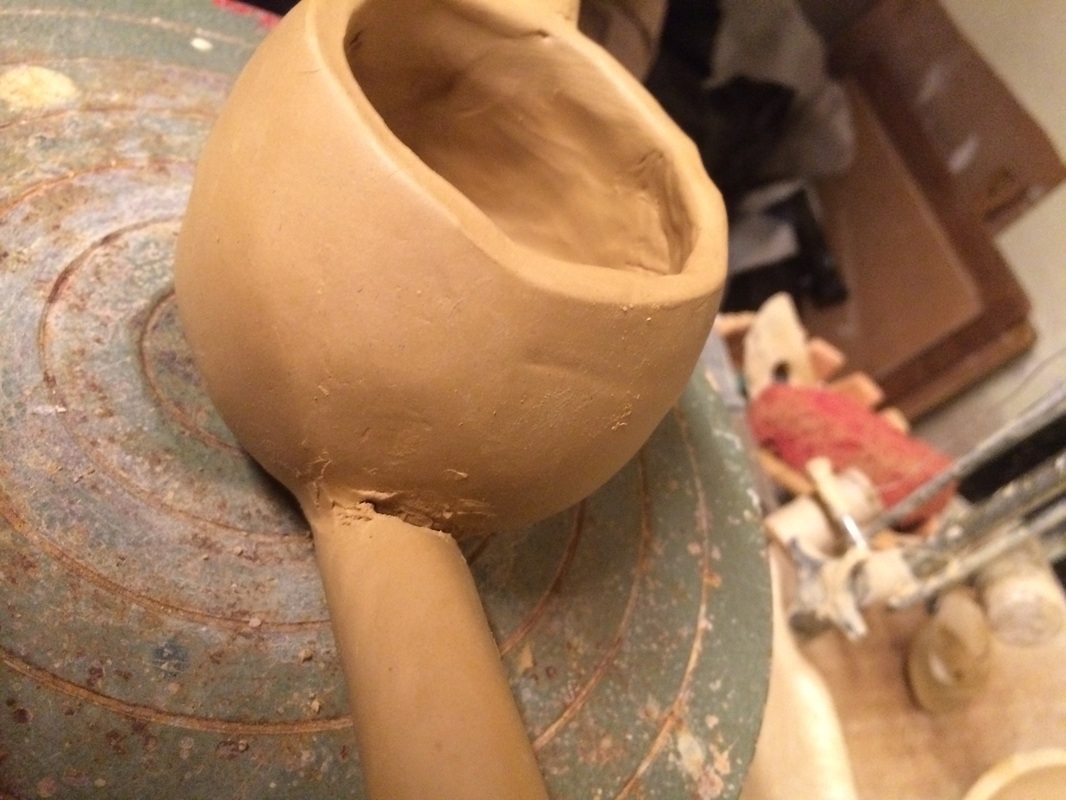
I then joined the handle and the body, again by roughening the spots where the two pieces are joined and using some clay sludge as glue. The thicker side of the handle is attached as close as possible to the top of the teapot as this will improve balance and handling later on.
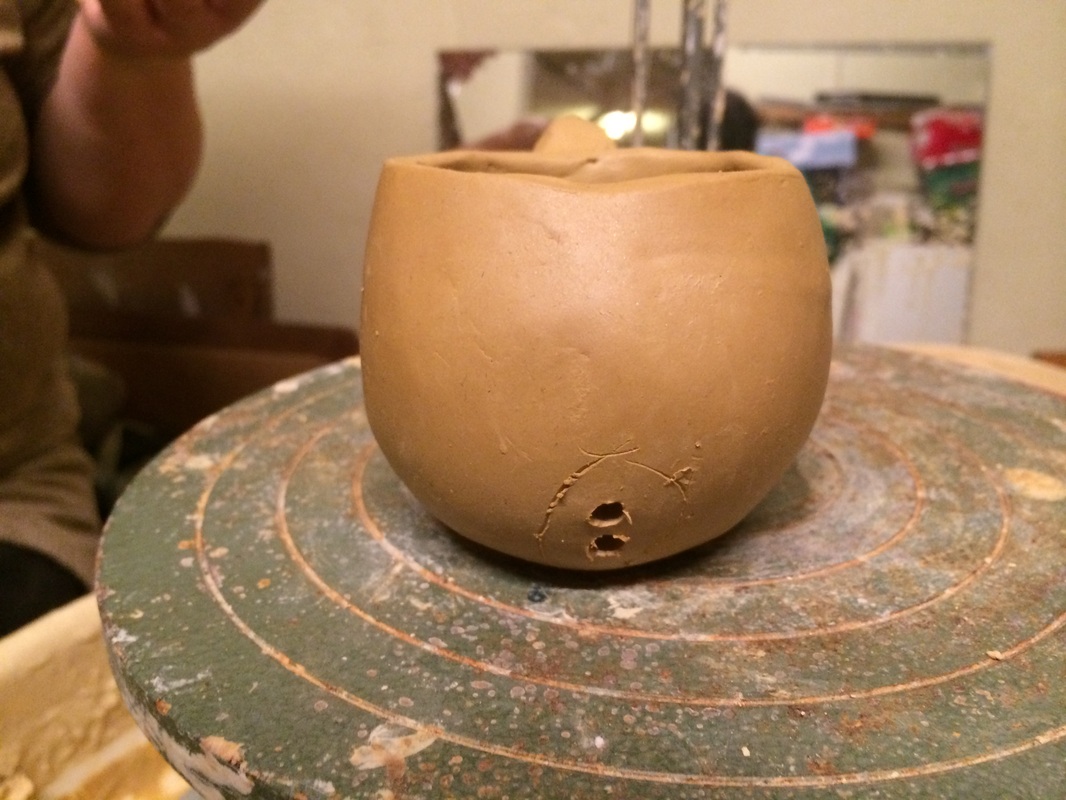
In order to attach the spout, I cut the clay tube at one hand at about a 55° angle. I held the tube against the body of the teapot and marked the spot where I would attach it later on. It appears to be a no-brainer that the spout should be attached opposite to the handle. Otherwise, handling the teapot and pouring the tea will be much harder as the teapot might be in imbalance. Then, I used a drilling instrument to drill two holes into my body for the integrated strainer. Again, I roughened the one end of the spout and the spot where I would attach it. Finally, I joined the two pieces. I used some extra clay to fill some cracks that appeared on the point of intersection between the spout and the handle.
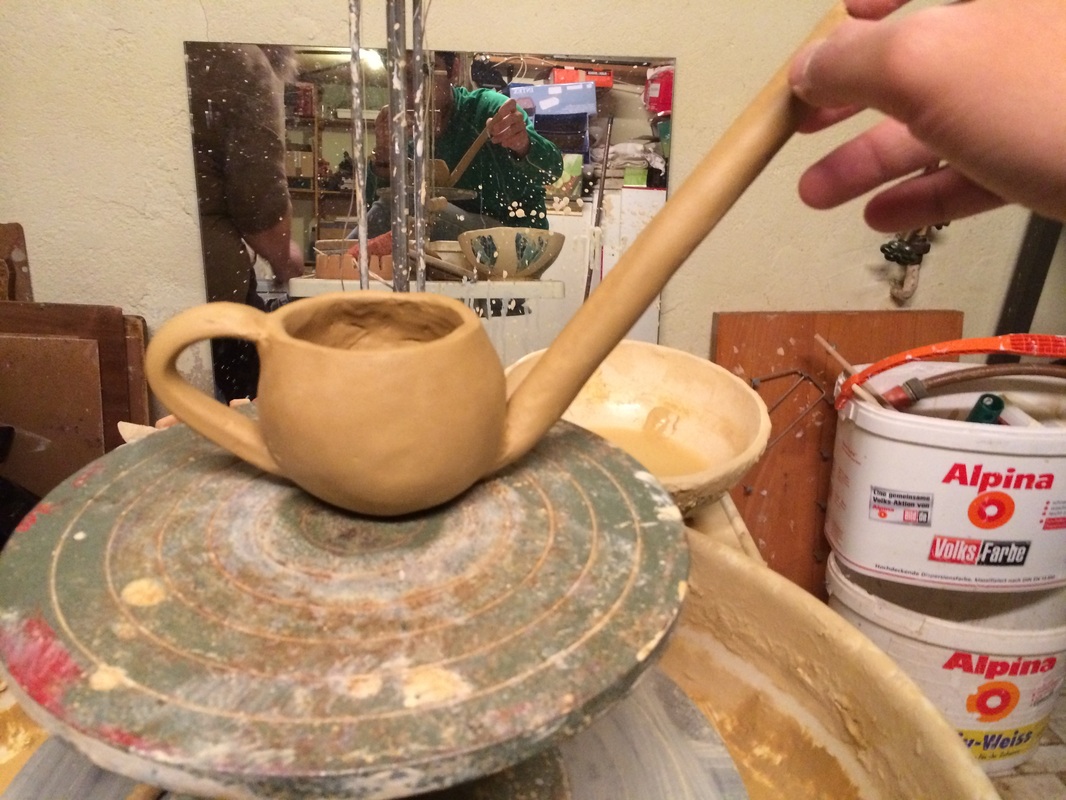
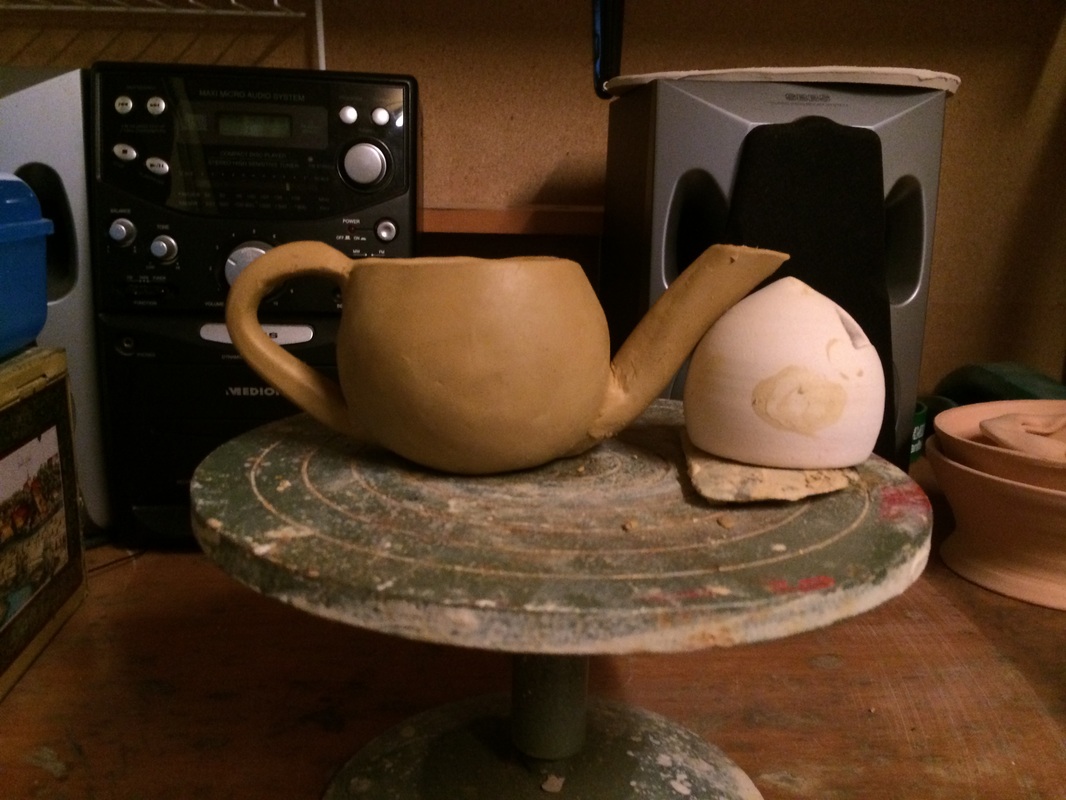
Only now did I remove the paintbrush around which the spout was still wrapped around. I used my hands to bend the spout into the desired shape and cut off the top just above the rim of the teapot. It is important for the spout to be at least as high as the pot itself, otherwise, the spout will spill tea if the pot is filled to the top. Finally, I used a knife to sharpen the front edge of the spout. This will make it more drip-proof when pouring the tea. Finally, I let my teapot dry with the spout leaning on something, in order for it to not bend down.
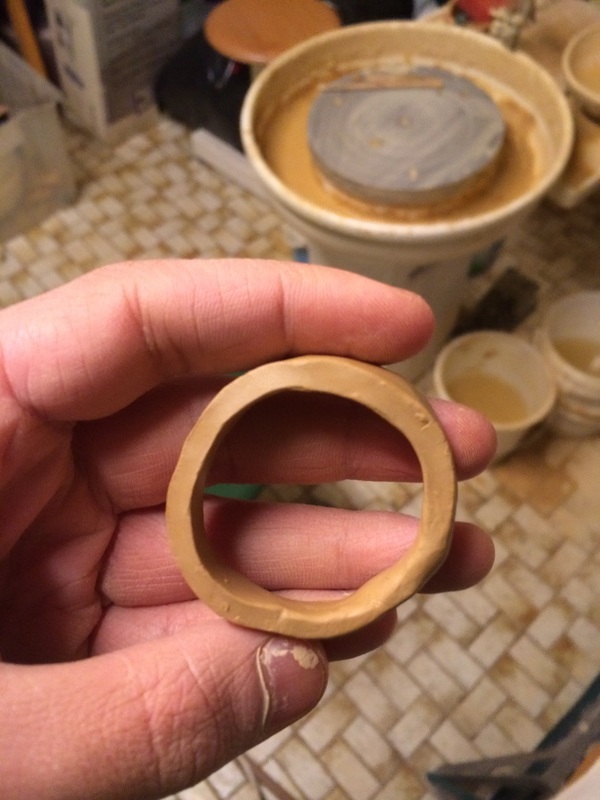
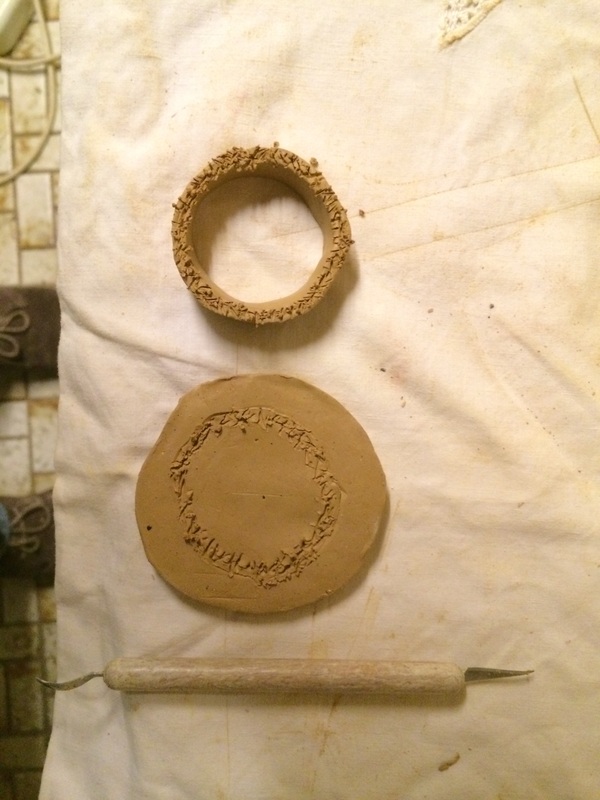
Step 5: Creating the Lid
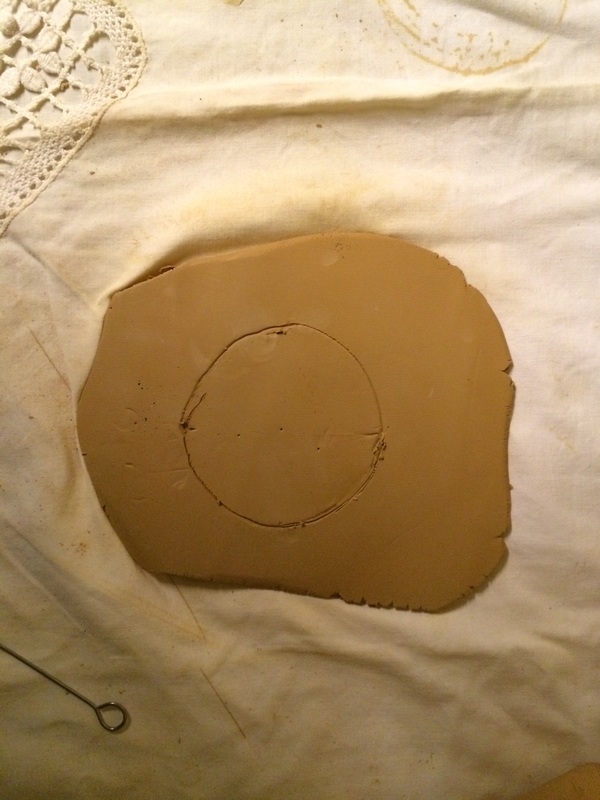
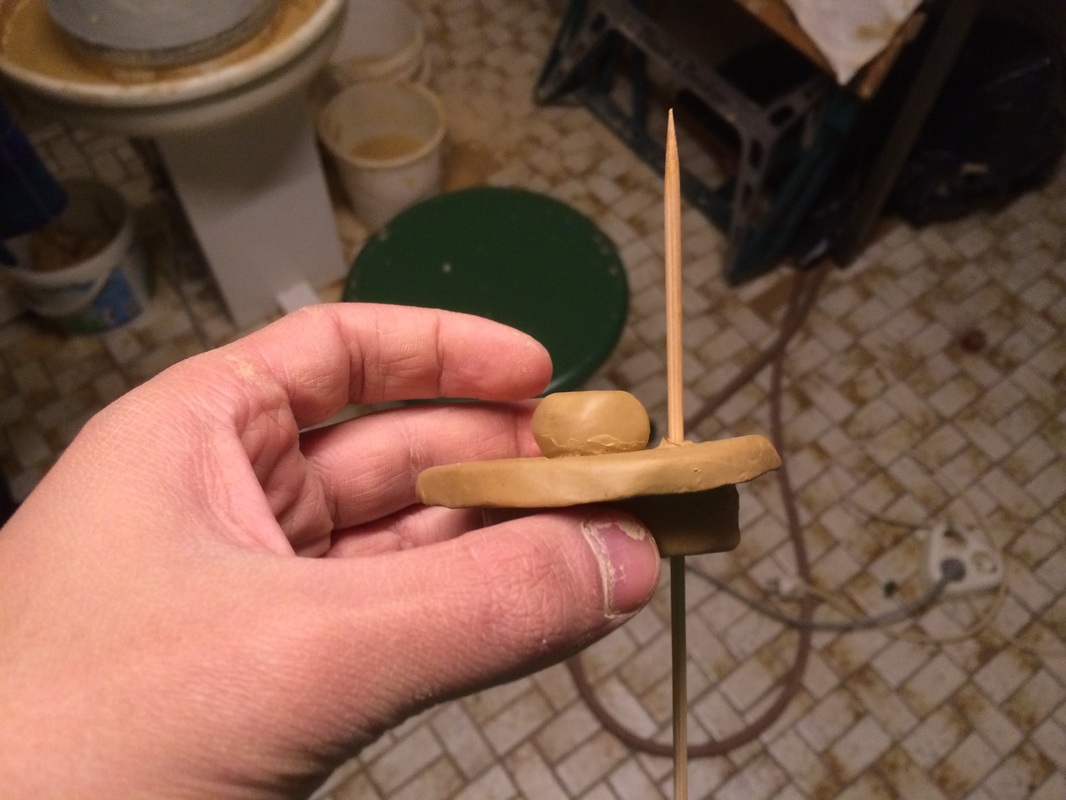
As I was under a bit of time pressure, I used a simple approach to make the lid to my teapot. I measured my teapot around the rim, took the left over rolled-out clay that I used for the spout, and cut the round base for the lid. Then, I cut a rectangular, ca. 8mm wide piece of clay and joined the two ends together to form a ring. I attached this ring to the round base. I formed a little ball of clay and put it on top of the lid. Finally, I used a shashlik skewer to pinch a hole through the lid.

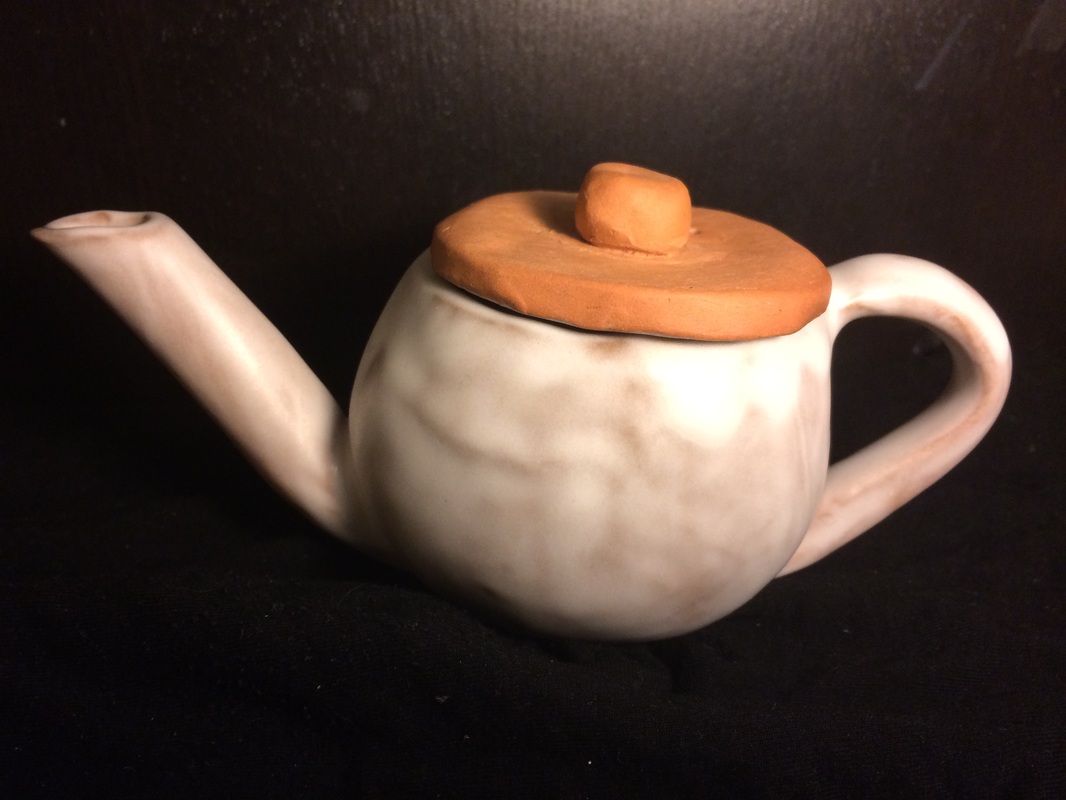
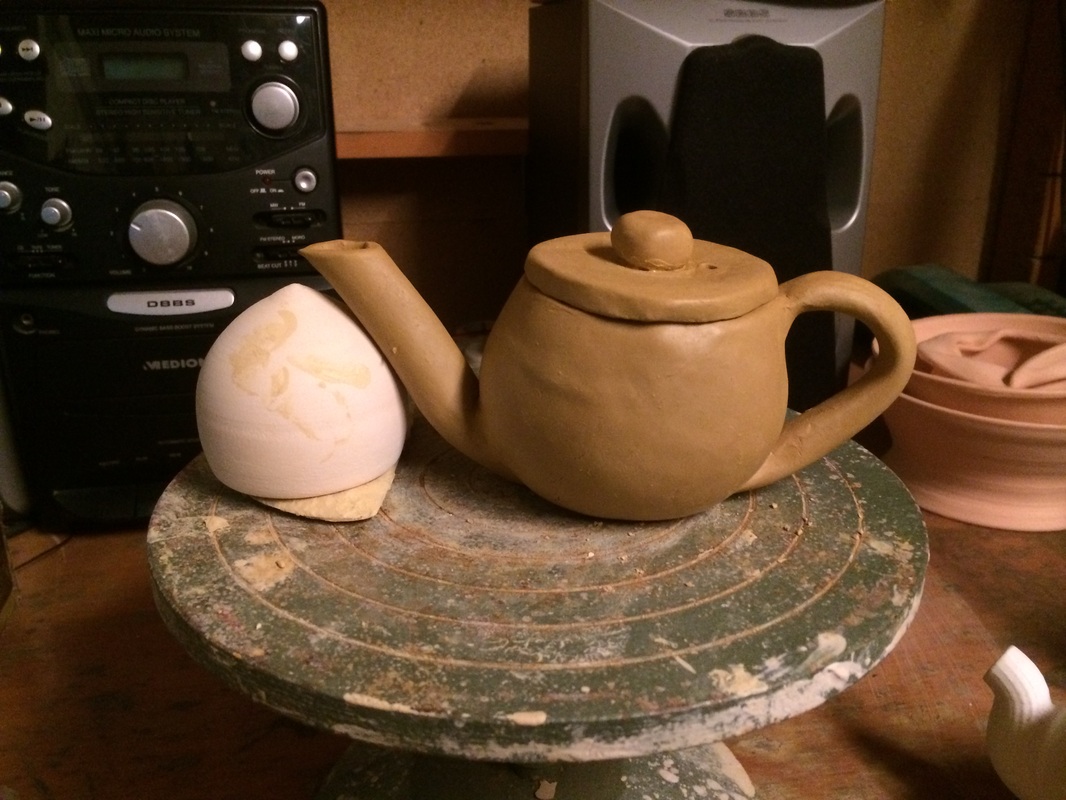
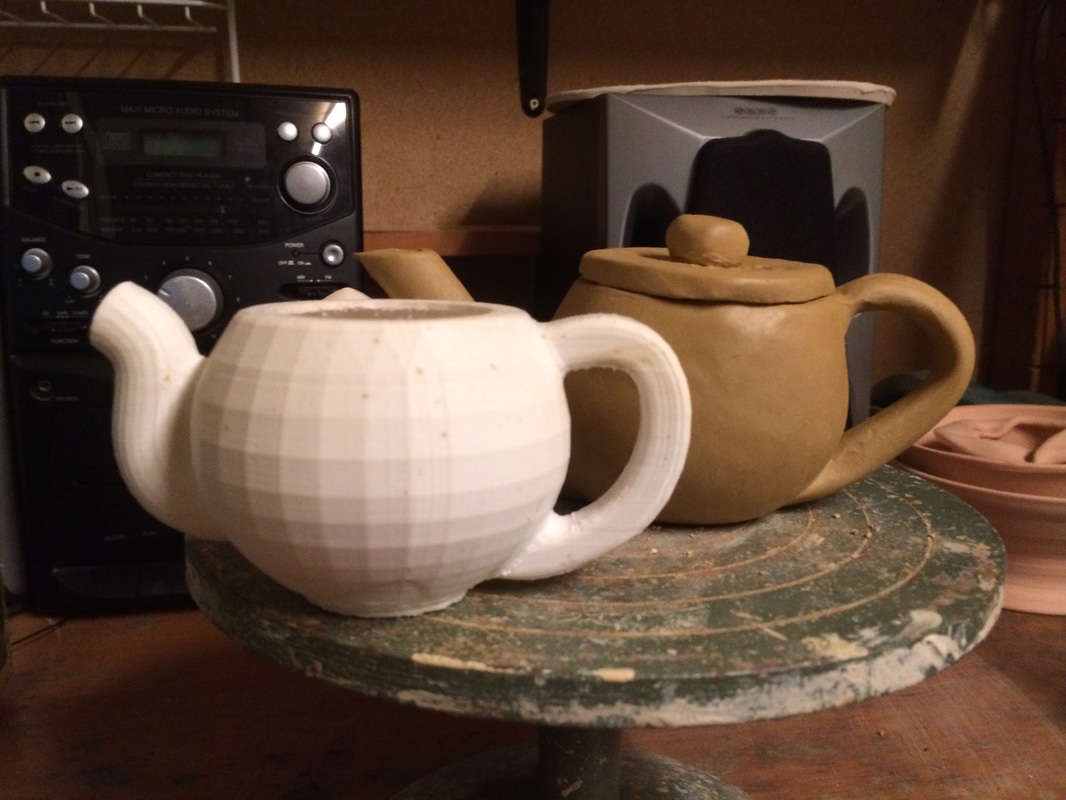
Forming a teapot by pinching clay instead of throwing it on the potter's wheel turned out to be a much easier and more appropriate approach to making a prototype for my teapot. Although this prototype is not an exact copy of my initial CAD design, I think that it can be useful to represent some properties of my design.
Step 6: Firing the Pot
As I produced my teapot in Germany, I somehow had to get it stable enough to transport it on the plane back to England. Therefore, I had to fire my teapot in order for it to be stable enough. Hence, I let my prototype dry for ten days. Before firing any pottery, one has to make sure that the object is bone-dry, i.e. its moisture content is close to zero. If this is not the case, one risks that the teapot will break in the kilt.
Here's why:
"Wet clay contains a large amount of water, a minimum of 25% water. When clay starts to dry, water evaporates from it. As this happens, the particles of clay are drawn closer together resulting in shrinkage. Many problems with clay are formed by uneven rates of drying, which create stresses in the clay. Sometimes these stress show up right away as cracks or warpage, other times not until during or even after firing. So it is important to ensure drying is even. This is done by ensuring uniform thicknesses throughout the piece, drying slowly, and even slowing down the drying of certain parts."
My teapot was first heated up to around 500°C in the kiln to allow it to sinter. In this process, the atoms in the clay particles diffuse across the boundaries of the particles. This atomic diffusion allows the particles to fuse together and creates one solid object. (Sources: Wikipedia, Kingery, W. David; Bowen, H. K.; Uhlmann, Donald R. (April 1976). Introduction to Ceramics (2nd ed.)).
Finally, my teapot was fired to 920°C. This process is known as biscuit firing. When biscuit fired, a pottery object is still too porous to serve as a vessel for liquids. At this stage, the ceramic object is more like a flower pot than a tea pot. However, biscuit firing made my teapot stable enough for transport on a plane. Also, in this state I can still process it further, i.e. glaze it and finally glaze fire it to optimise it for tea pouring purposes.
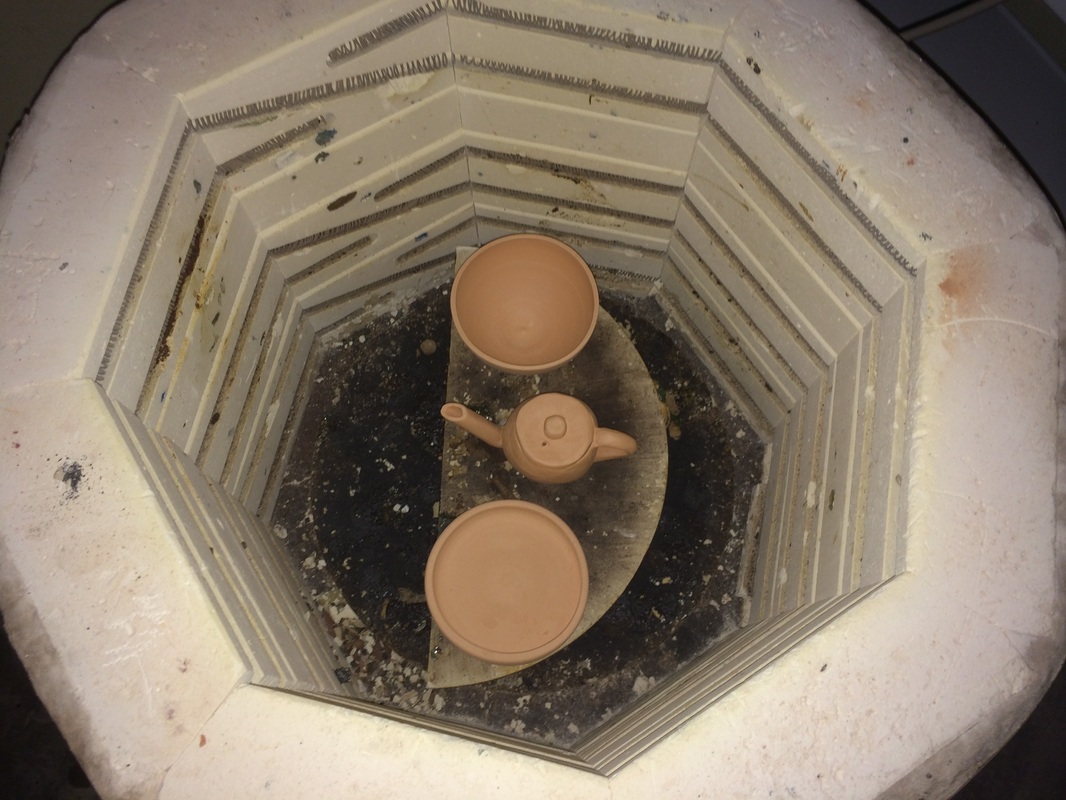
My tea pot coming out of the kiln
Back in London, I went into the Institute of Making to glaze my teapot and the cup that I had created previously.
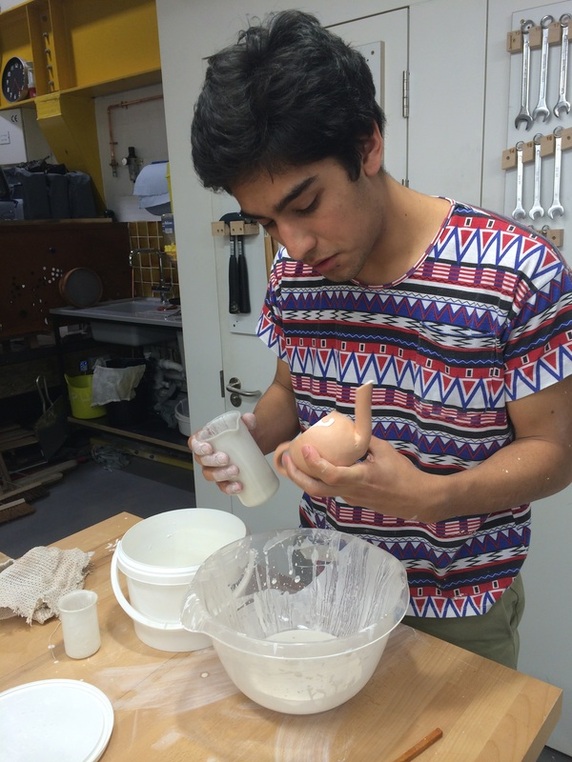
Draining turned out to be a much harder process than I had expected. It is very hard to apply a glaze evenly. Pouring the glaze over an object has to be done quickly because otherwise ugly drops and thicker, bulky parts will form. Furthermore, the glaze must not be applied to thickly because otherwise it might crack in the kiln as it had happened to that poor fella in the picture below.
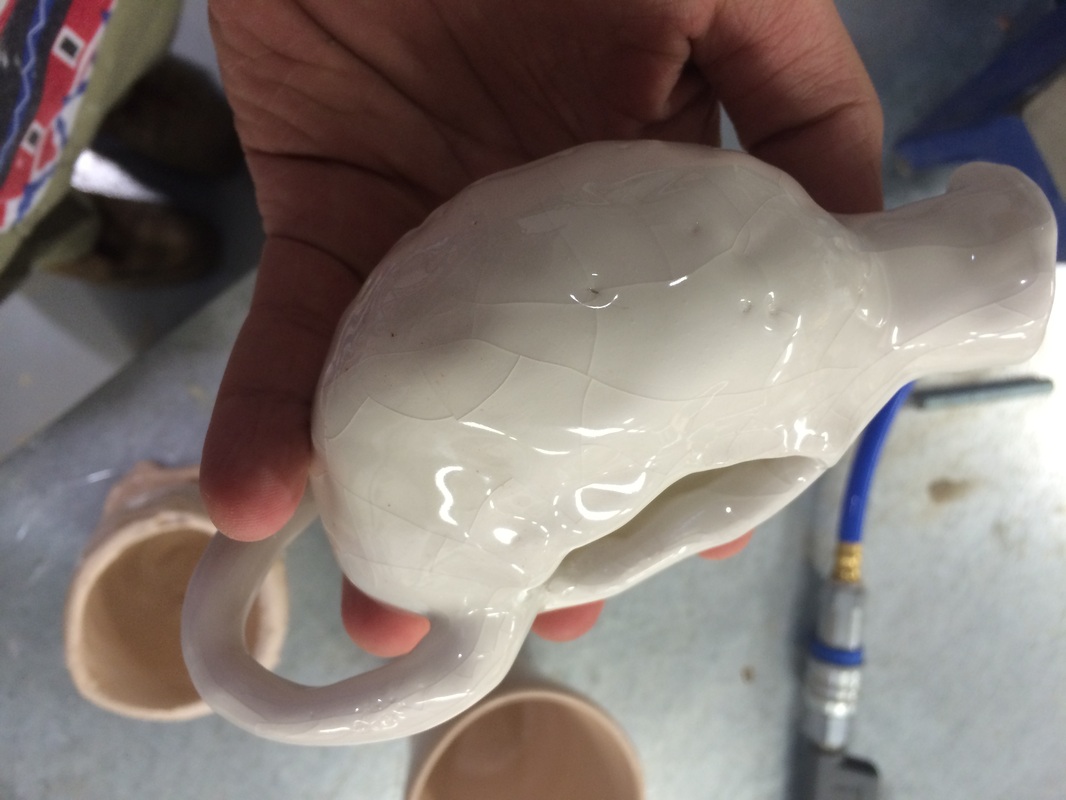
After the glaze had dried, the teapot was glaze fired to 1100°C. Finally, I had my first ceramics prototype.